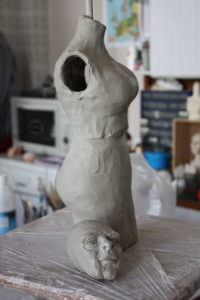
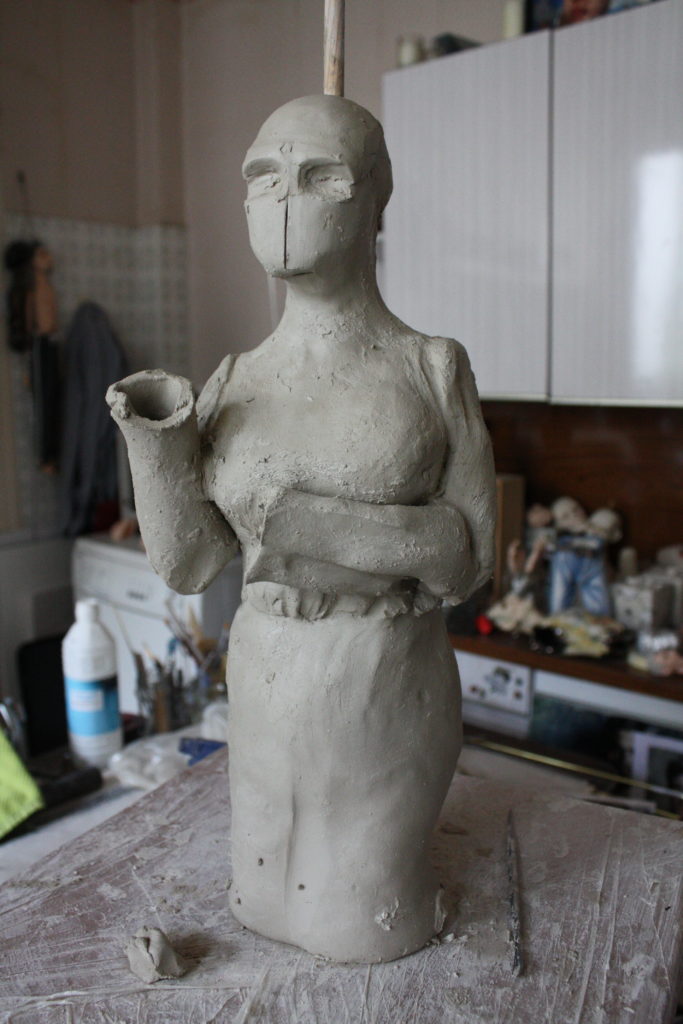
For this sculpture, which is fairly small, I start with a thickish tube which, as you can see, I have shaped by bringing the two top halves together and attaching a much smaller tube for the neck. It is important when attaching or joining clay to properly score and slip the two parts that join . I simply shape the bust and hip by gently pushing out with my fingers from the inside. The clay should be moist enough to be malleable, but also dry enough to keep its shape. You may have to leave it a couple of hours to dry out a little if it tends to flop about too much.
Scoring and Slipping
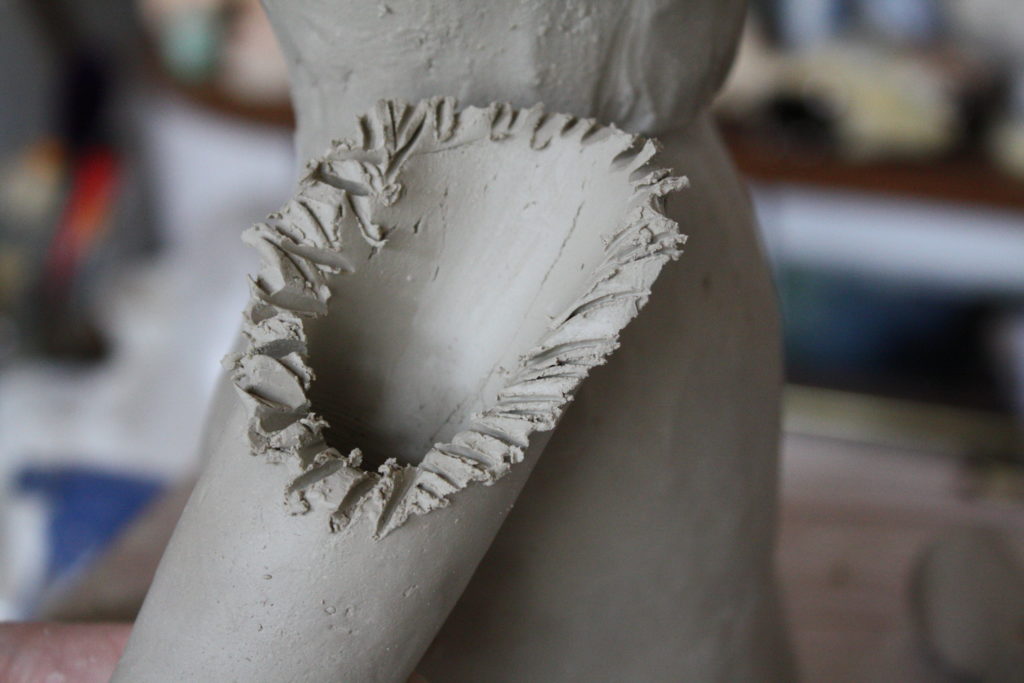
This is a simple but ESSENTIAL technique if you wish to successfully join two pieces of clay together. I cannot enough that this must be done every time to prevent these just falling off again, or cracking during the drying or firing.
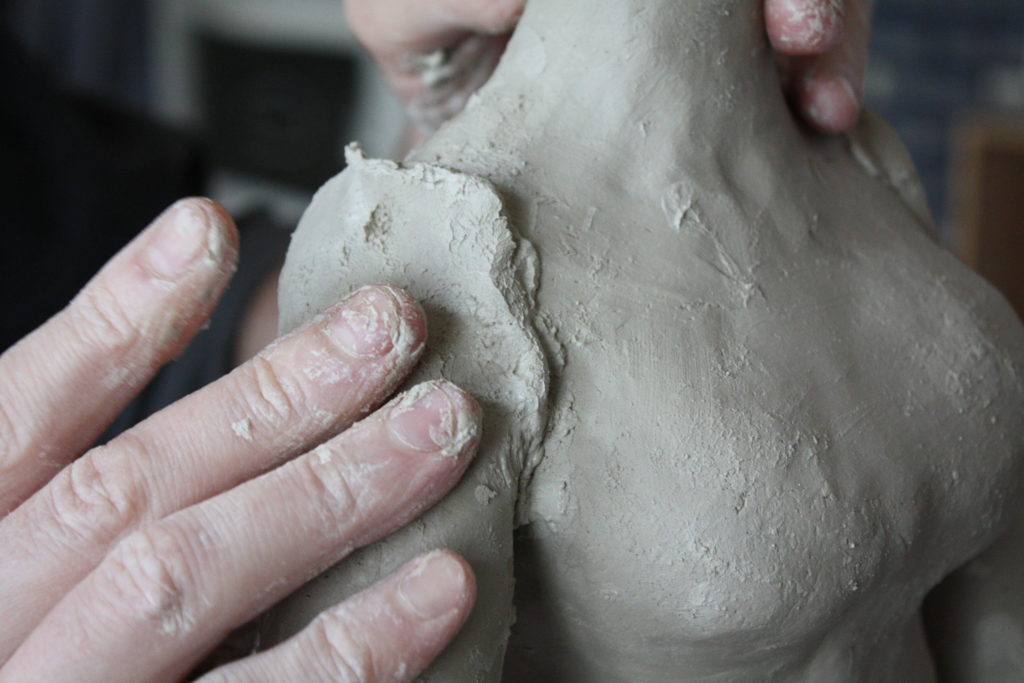
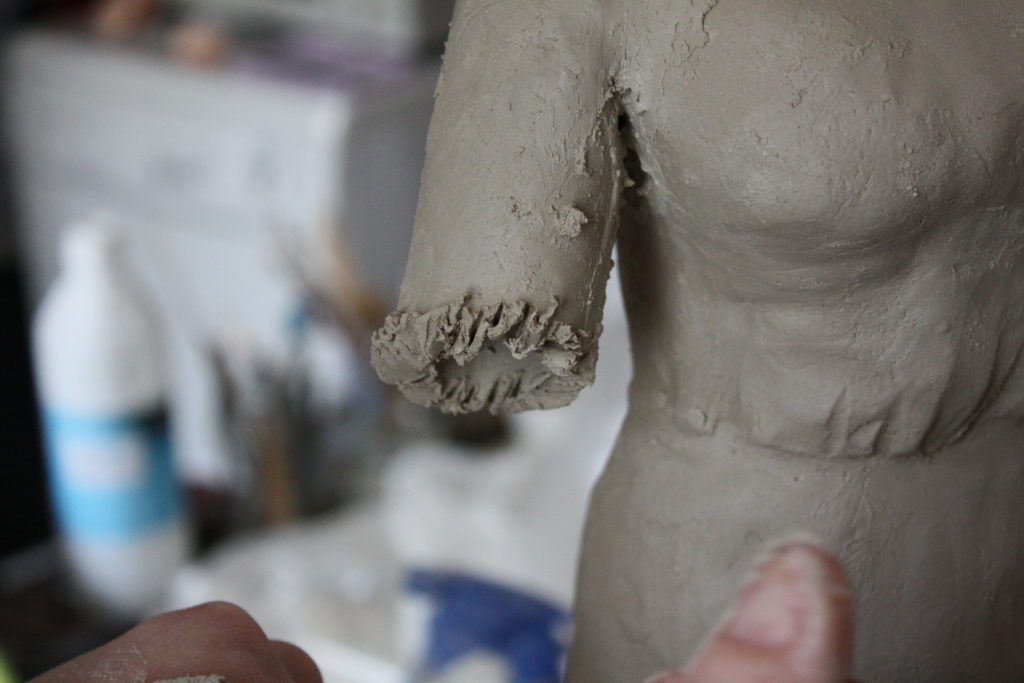
There are two things to start off with. The two pieces of clay (in this case an arm and a shoulder) should be roughly the same texture and dryness. If one piece is much “wetter” than the other, there is a very good chance that, as they both dry out, they will pull away from each other and crack at the join. Also AIR BUBBLES ARE NOT OUR FRIENDS! Trapped air bubbles will expand and crack the clay during the firing. I have had a few sculptures that have fallen to bits in the kiln in the kiln due to this. So try to avoid them as best you can.
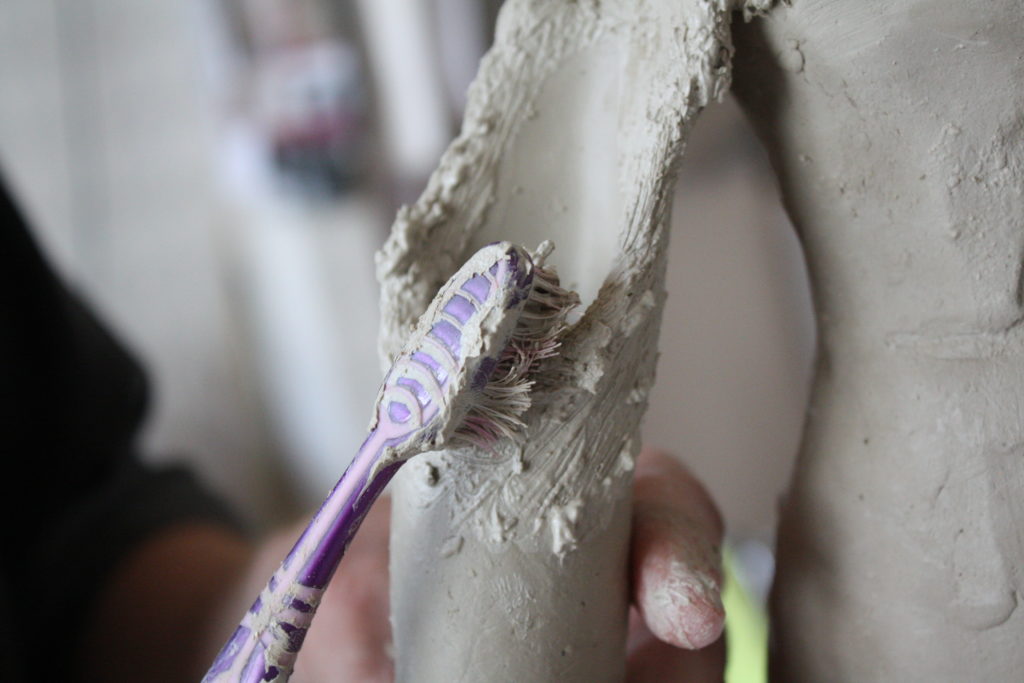
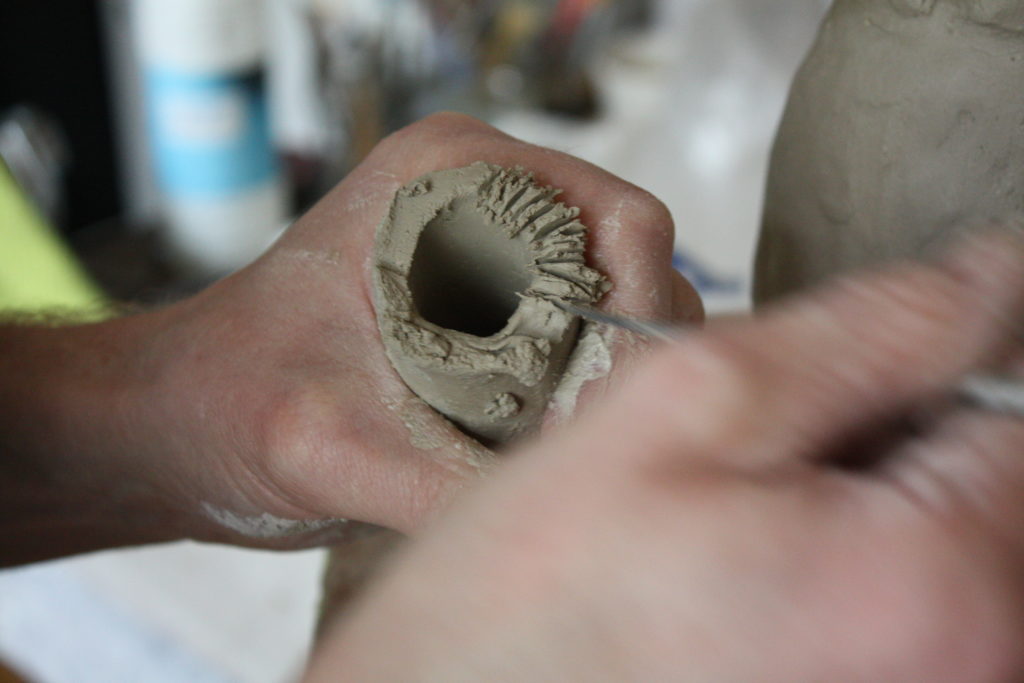
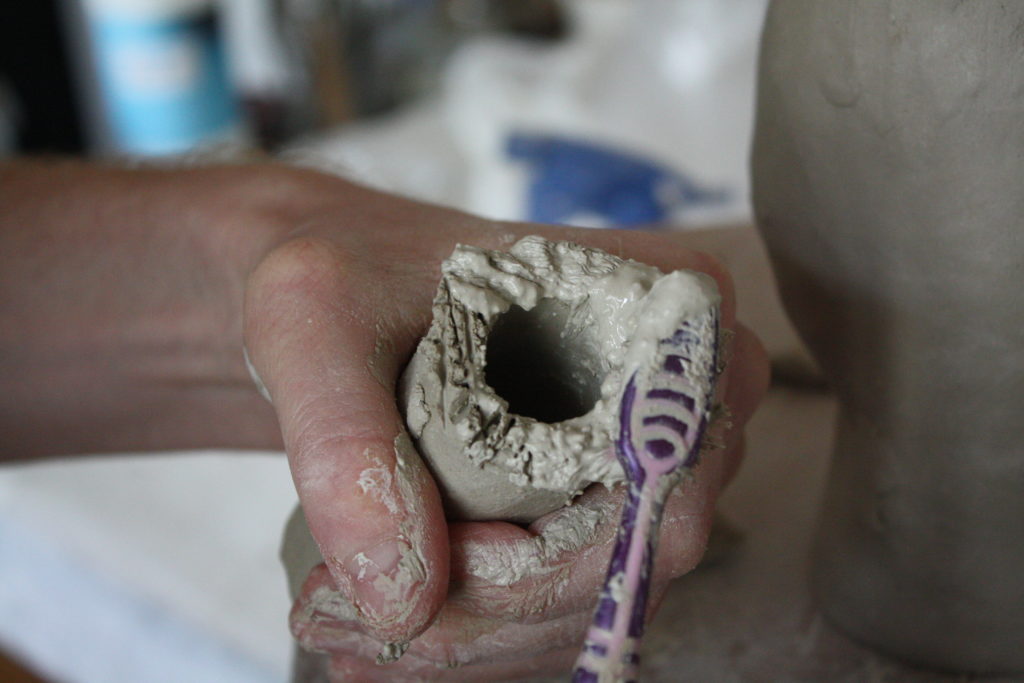
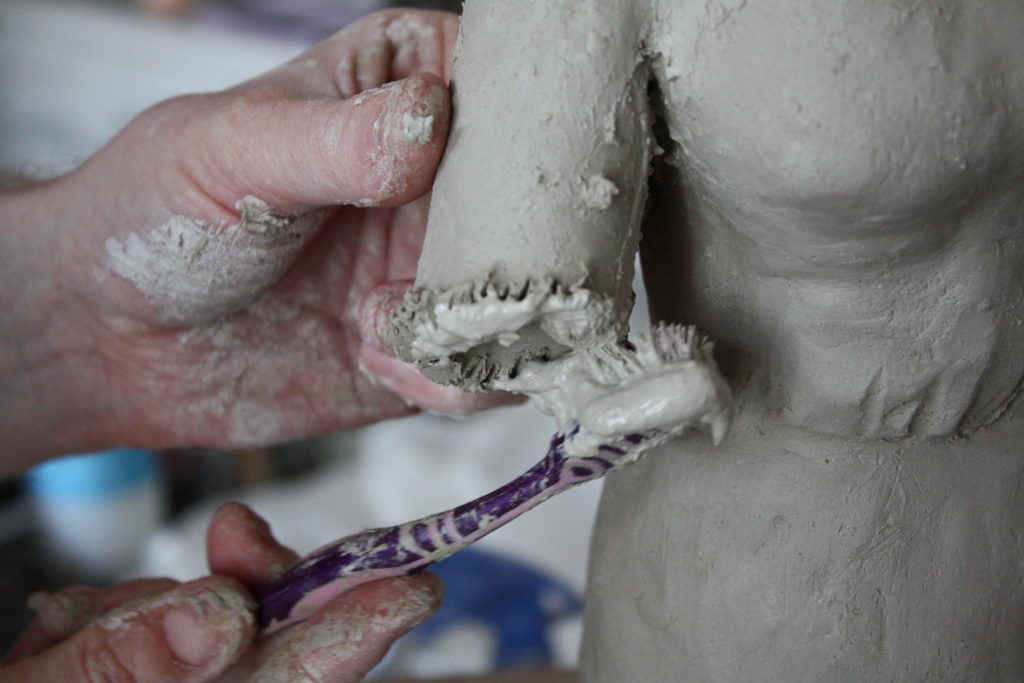
First of all score the edges as shown in a rough criss-cross. Then, using a toothbrush dipped in slip, brush both areas thoroughly. Your aim is to have enough slip to join the two pieces but don’t make it too wet.
Join the two pieces and twist slightly one into the other using an even pressure. In this way, hopefully, you won’t get any air bubbles trapped between the two pieces. Using your sculpting tool or fingers, blend the clay around the joint. It is useful at this point to add a thin coil of clay around the joint and blend this in also. This should make a permanent join that should survive the kiln. It should be secure enough to hold a reasonable weight, but if the piece you have joined is too heavy, it will break at the weakest point (not necessarily the join). So you must prop this during the drying and also in the kiln for it not to break and fall which is extremely annoying as I’m sure you can imagine.

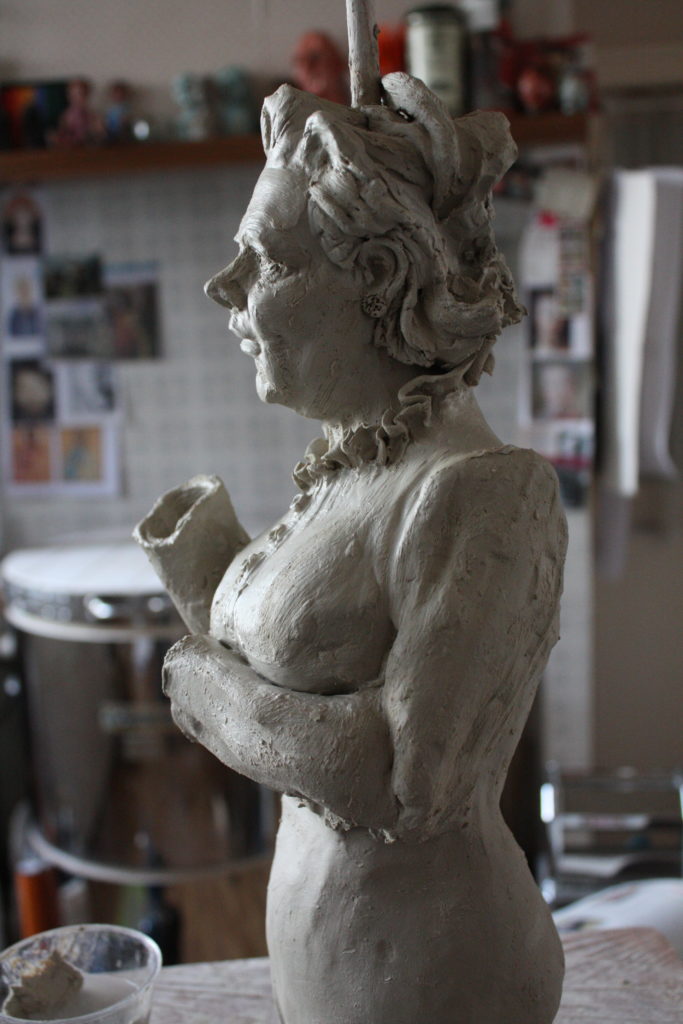
Attaching head, hands, etc.
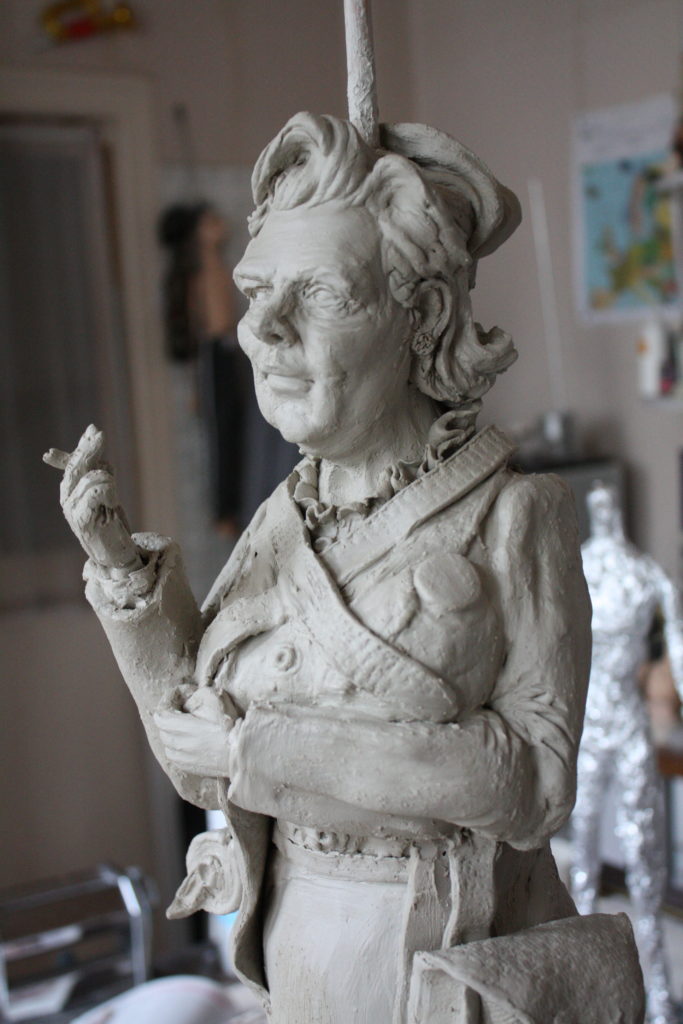
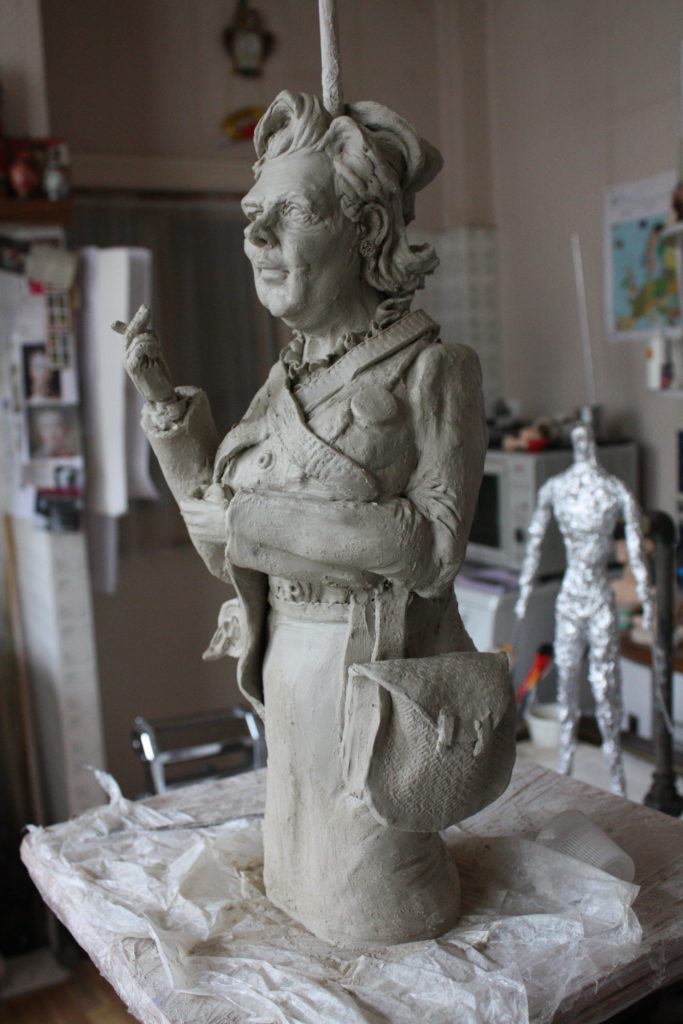
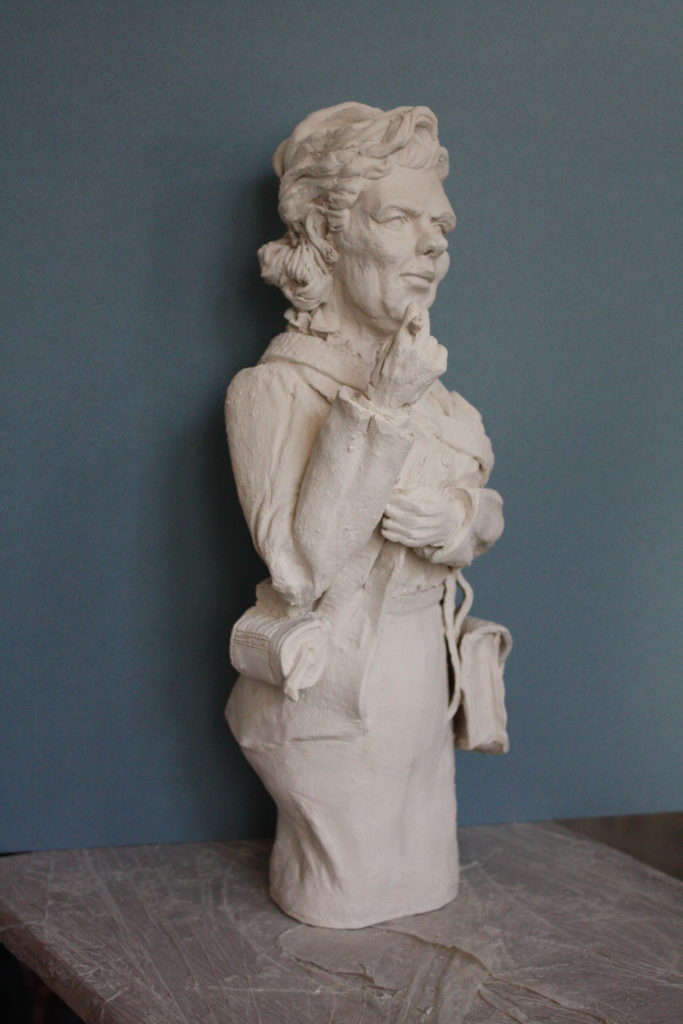
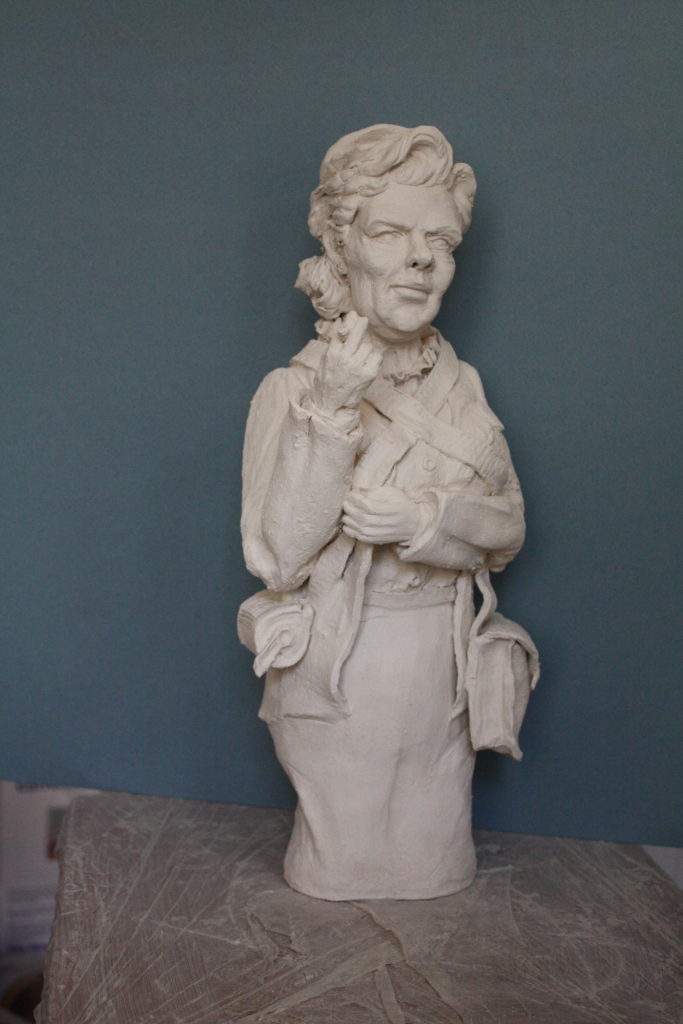
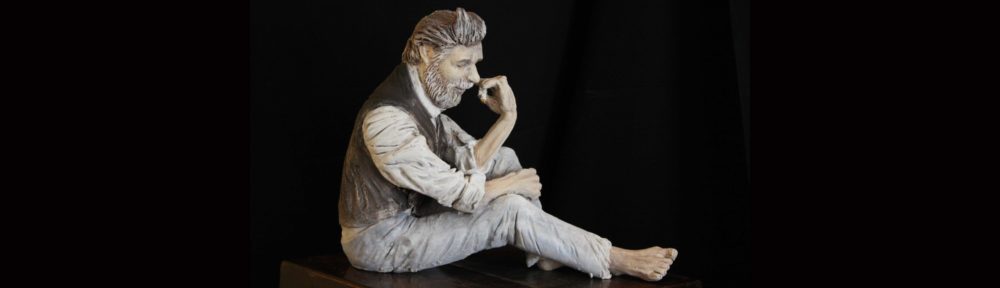
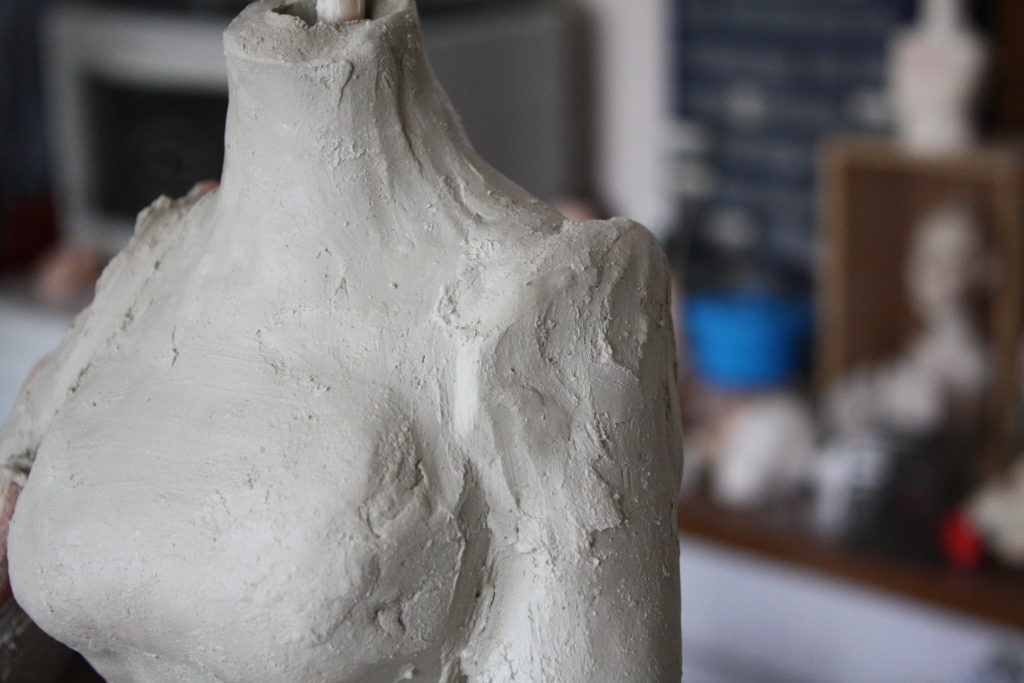
I usually sculpt the head with the rest of the sculpture so as to get the proportions right. In this case I had sculpted a head separately at the beginning but was displeased with it and so started again.
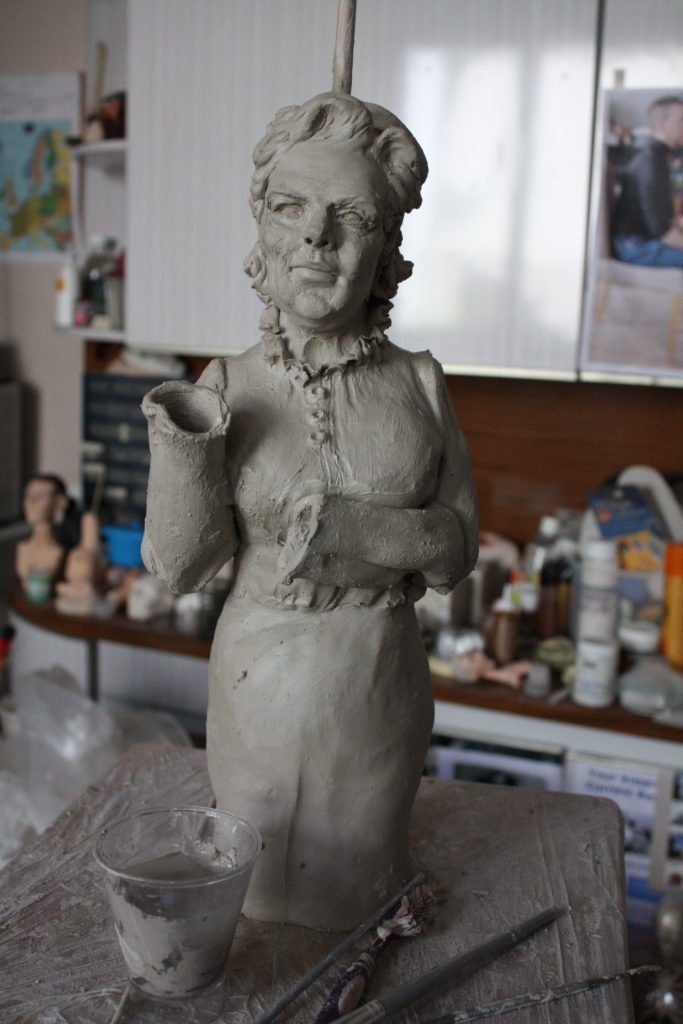
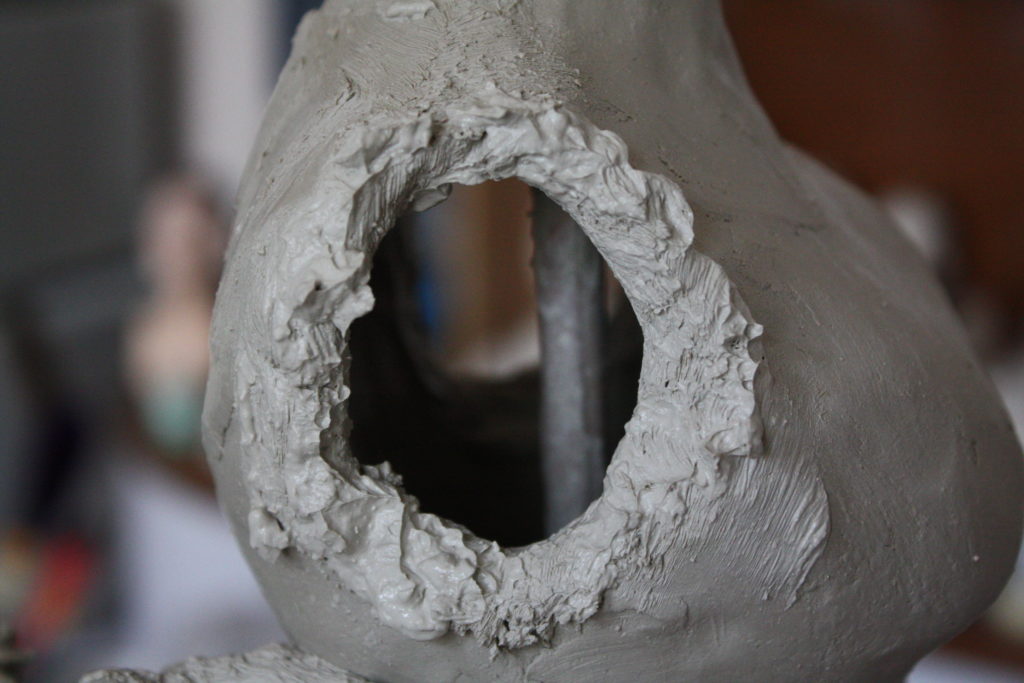
I use a wooden pole that goes through the neck to the base of the sculpt to support the weight. Score and slip the top edge of the neck and the base of the head to get a firm attachment. Sculpt features, hair, hat, etc. and remember to hollow out once it gets to the leather hard stage, e.g. firm enough not to deform under your fingers and yet still wet enough for you to be able to take the top off, scoop out the clay inside and then score, slip and re-attach the top and blend in.
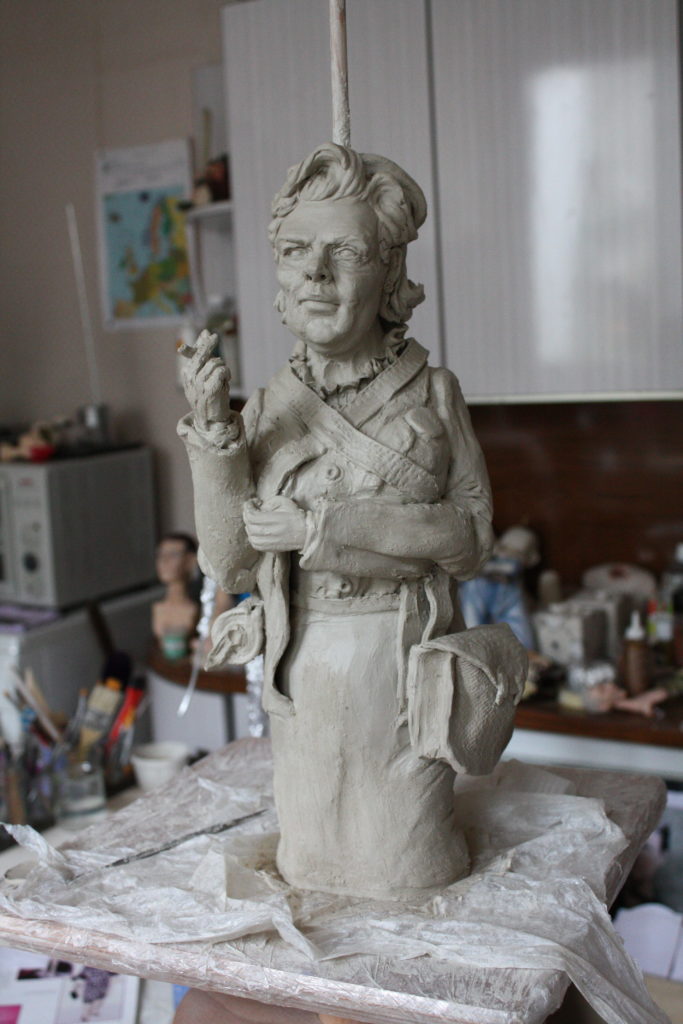
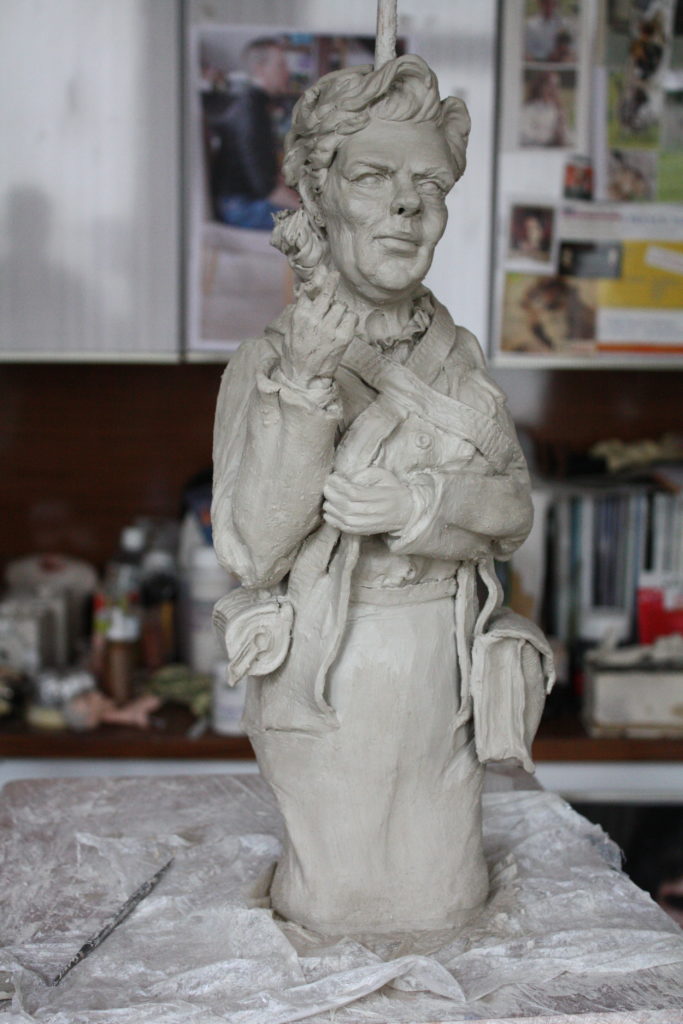
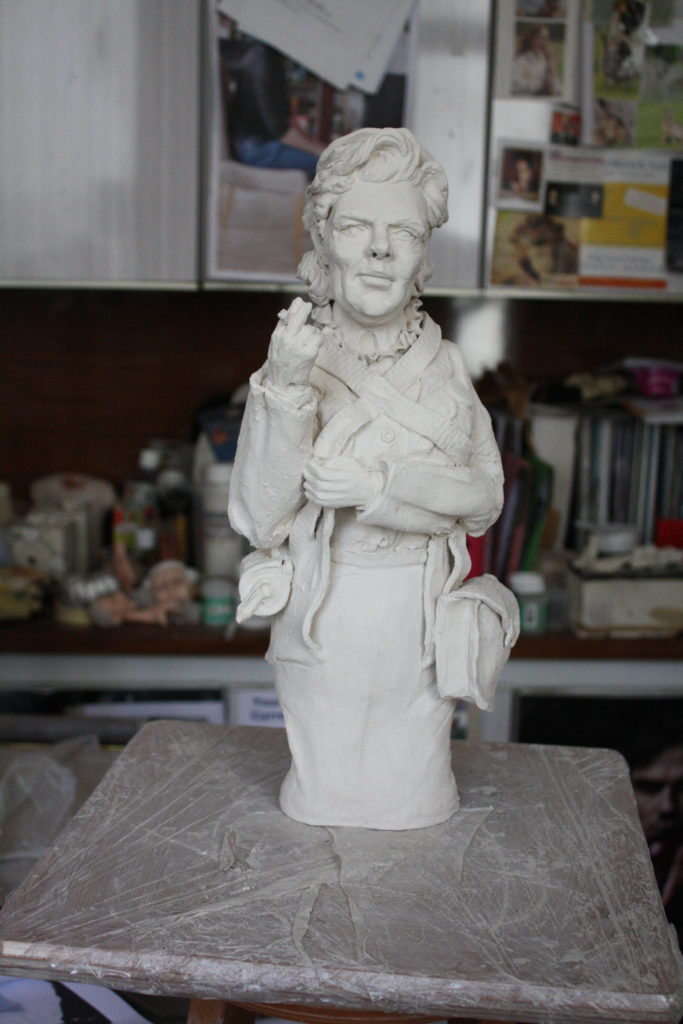
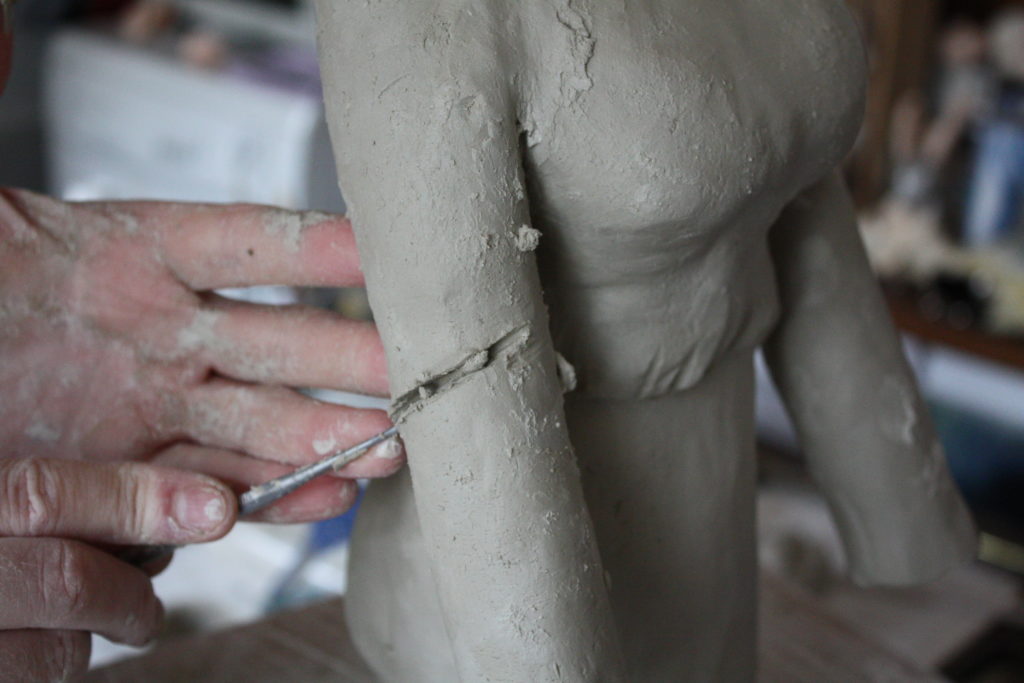
Hands and fine details are sculpted and attached. Again, we are trying to avoid air bubbles so, while the hands are solid, I use plenty of slip to keep them in place. It is a useful thing to remember that any clay piece thicker than your thumb needs to be hollowed out. The hands here are solid and fire with no problems.
Her bag is made of thin sheets of clay cut and blended together, scored and attached at the side to the hip. It is hollow but ensure that the air has somewhere to escape from. In this case the flap is quite loose so it isn’t a problem. Her ticket machine is a simple box and tube shape attached together and made from thicker clay sheets. I have left the bottom off to ensure the hot air escapes during firing. Air pockets are no problem at all so long as the air has somewhere to go rather than expand and build up. So always make sure that there is a hole for the air to escape.