I’ll show you how I sculpted this bust explaining each step as I go.
I include all my mistakes not to discourage you but to show they happen to everyone.
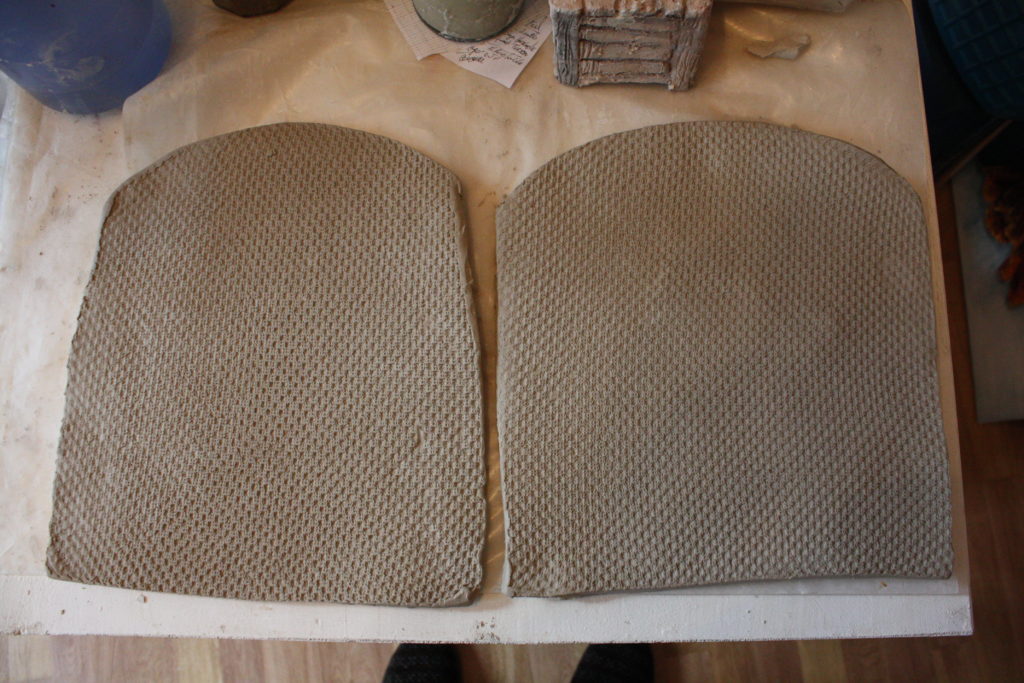
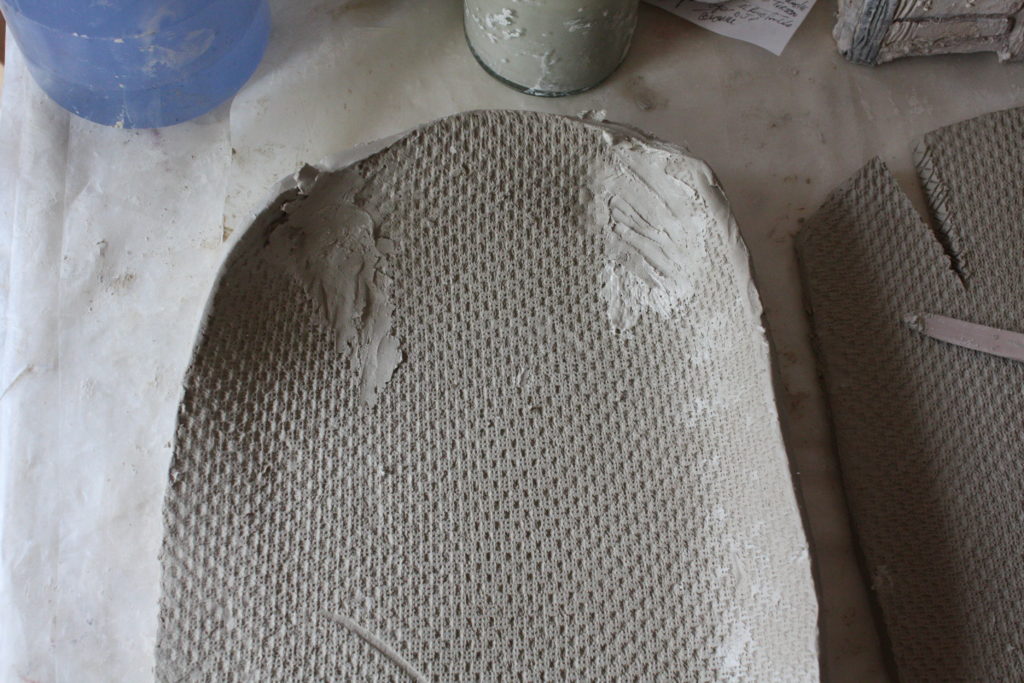
To start, roll out some clay in the basic shape of the chest and shoulder roughly in the size you want. It should be about 0.5 to 0.75 cm thick. Leave it to dry until it reaches a “leather hard” stage.
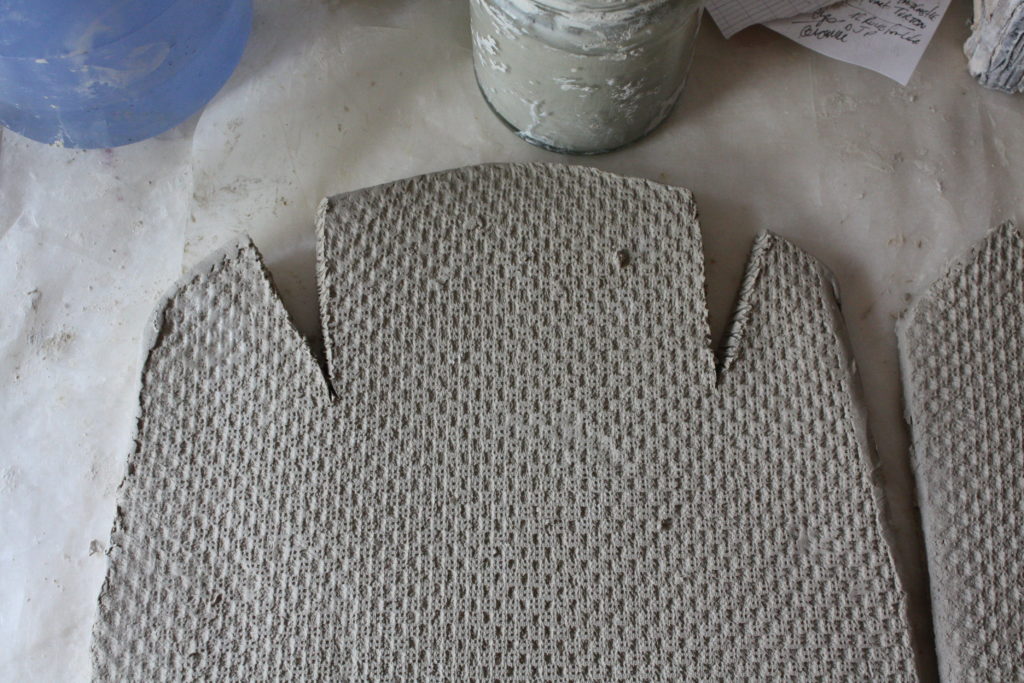
When dry enough, cut out darts, score and slip the edges, and press them together to form a curve at the top of the torso. Score and slip the sides of the torso , press together and reinforce with more clay on the inside.
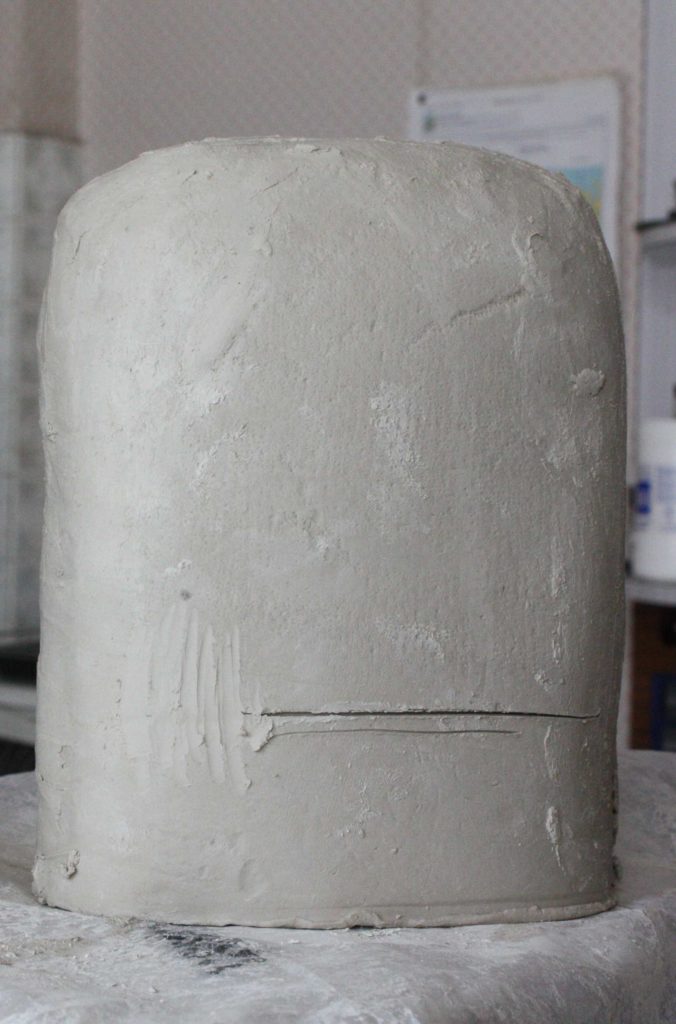
You should have this basic shape. Leave to dry – an hour or two should do it.
(Note: I have decided that it is too long and so I have marked an area at the bottom to be cut off. This can be used to form neck. As it has dried at the same rate as the rest, it shouldn’t crack or pull away when you leave it for its final drying out or in the firing.)
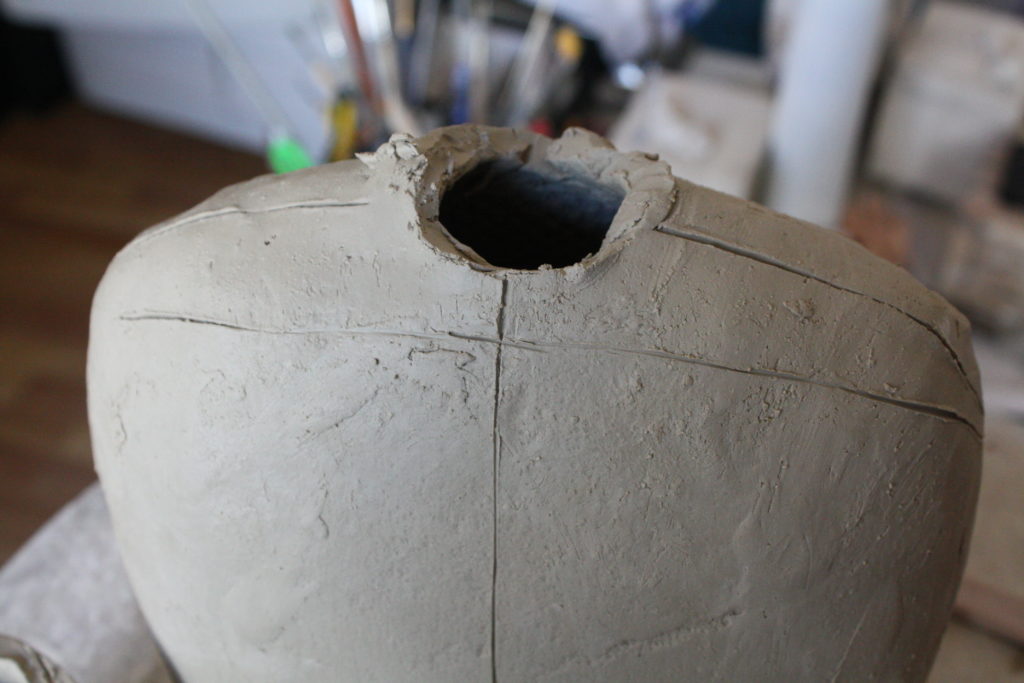
The neck should be just a little forward of the central line going across the shoulders. Form a tube from your clay, and make a hole in the top of the torso that it can sit on. Score and slip well, and ensure a snug fit. Make sure that the clay on the inside of the neck and shoulder is blended together well – reinforce with some extra clay to form one complete unit. It should be dry enough to withstand handling. If it deforms it is still too wet.
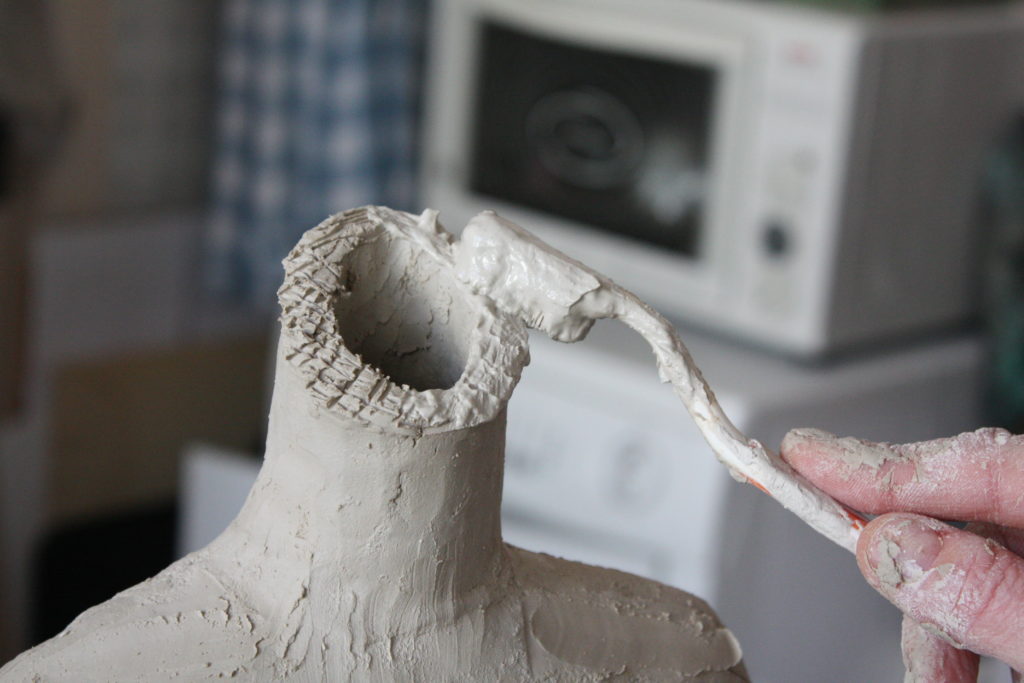
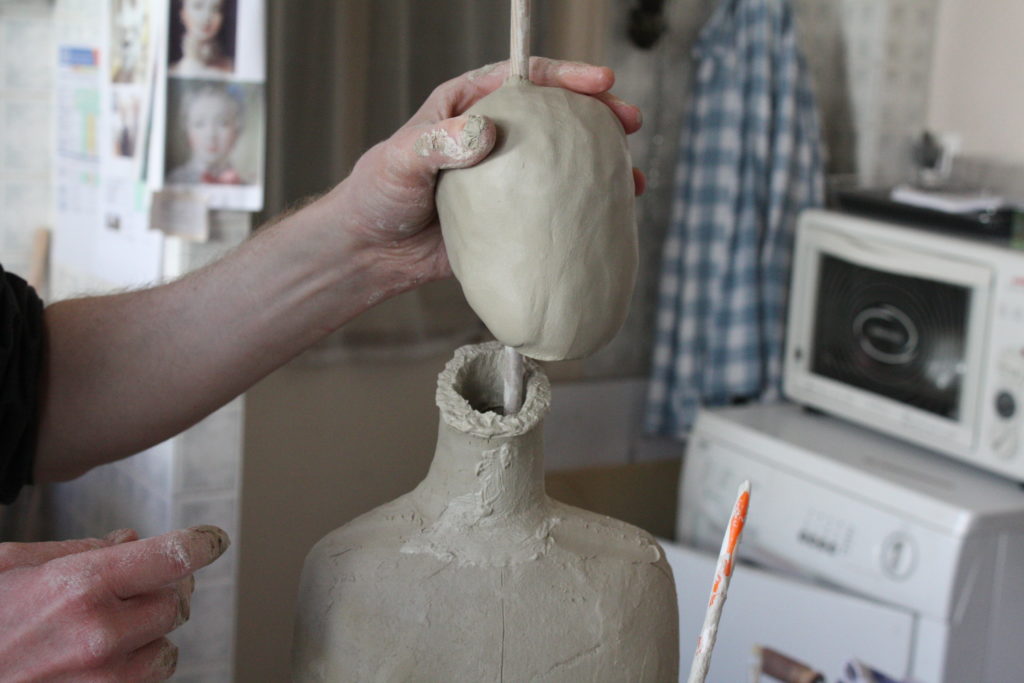
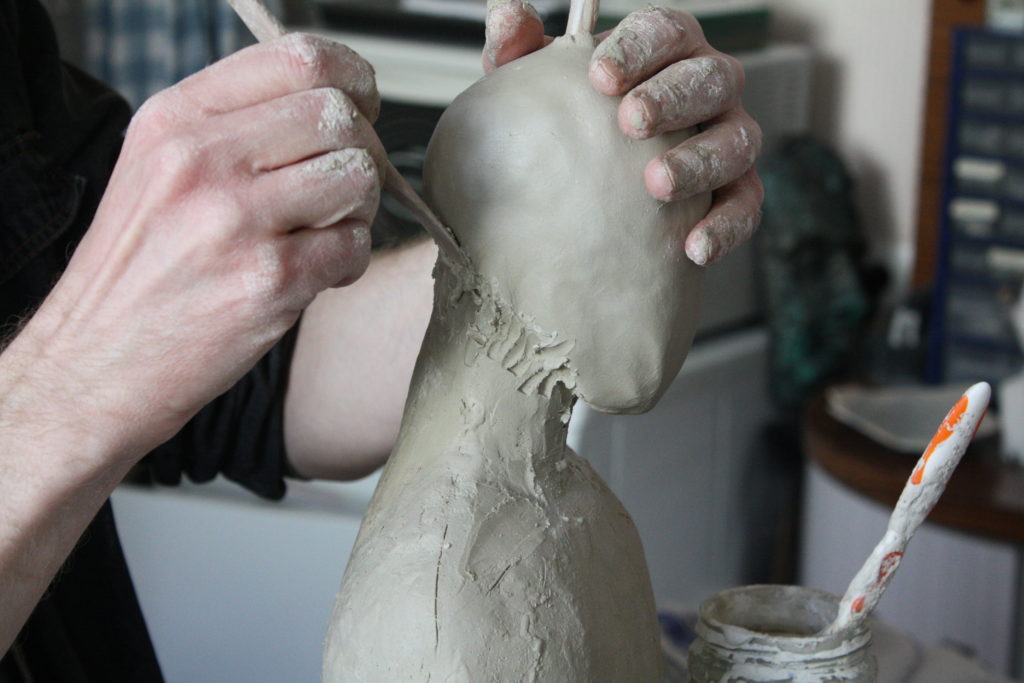
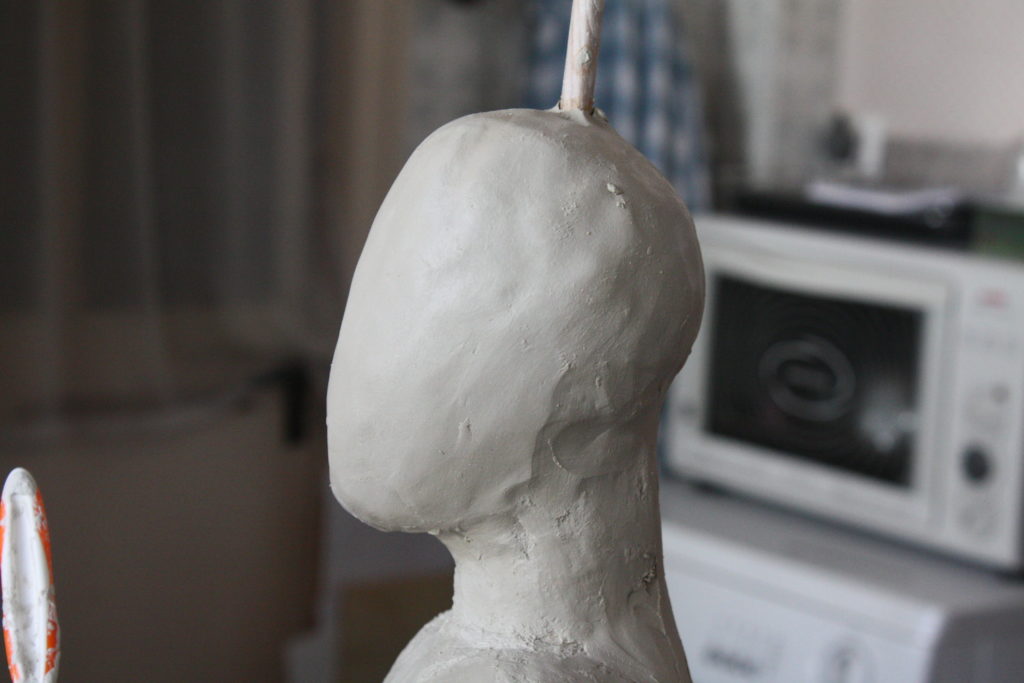
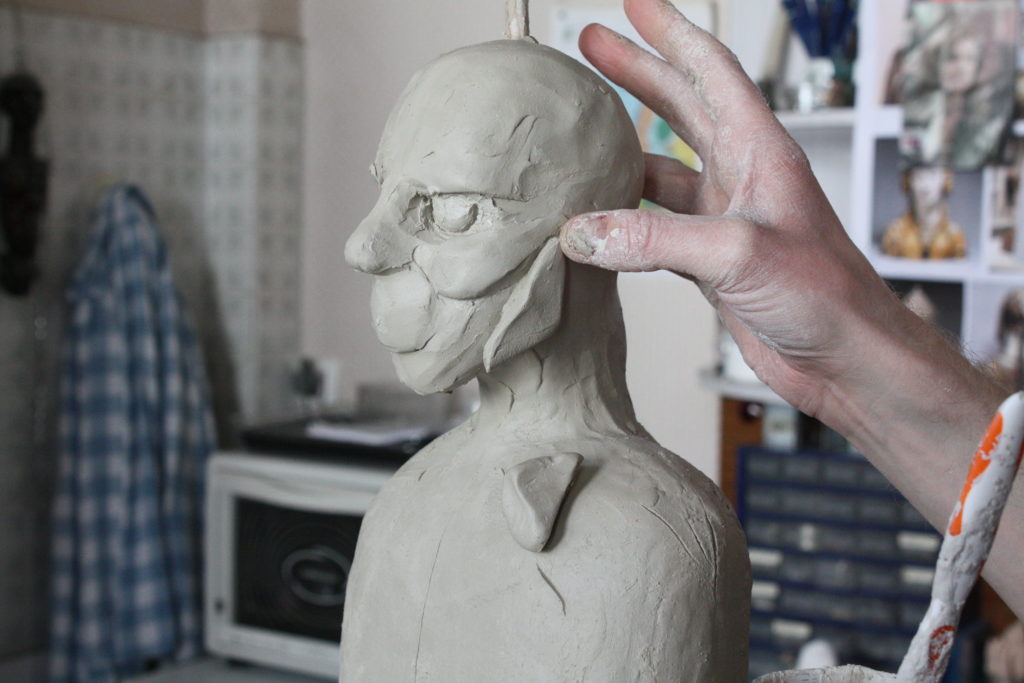
The head is a solid mass of clay formed in to an egg shape. You will need to suspend it on a pole while you work on it to take its weight (it will be hollowed out later). Score and slip the top of the neck and attach.
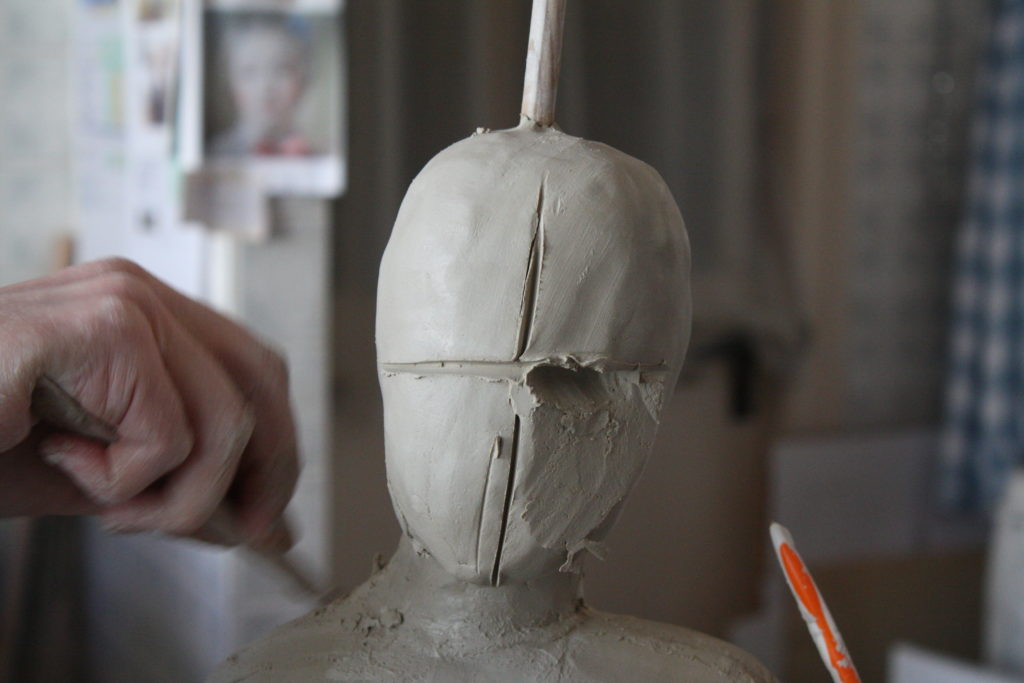
First mark a central line on the vertical and the horizontal. ‘I have made it too broad at the chin and not deep enough at the forehead.) Cut away from the underside of where the cheek bones will be, and add more clay to the forehead remembering the basic shape – so curved rather than flat.
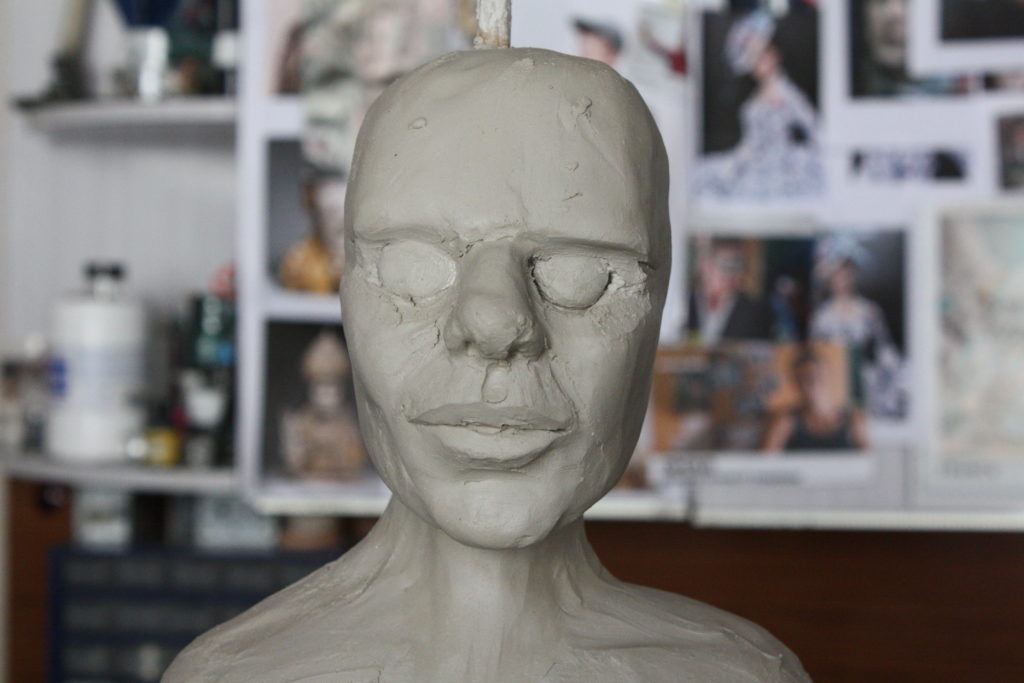
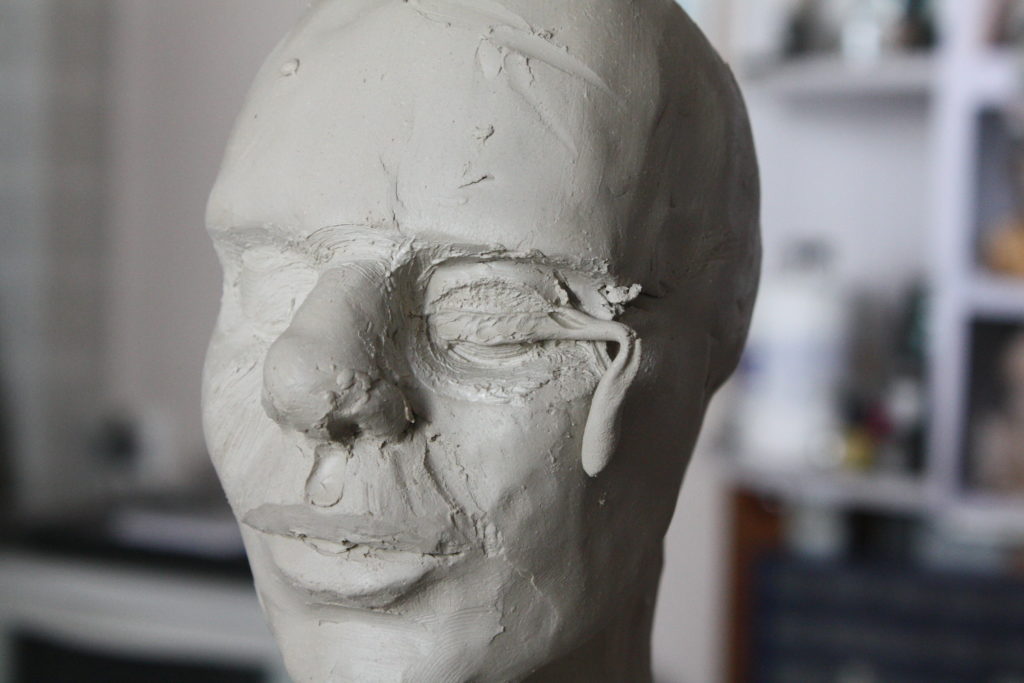
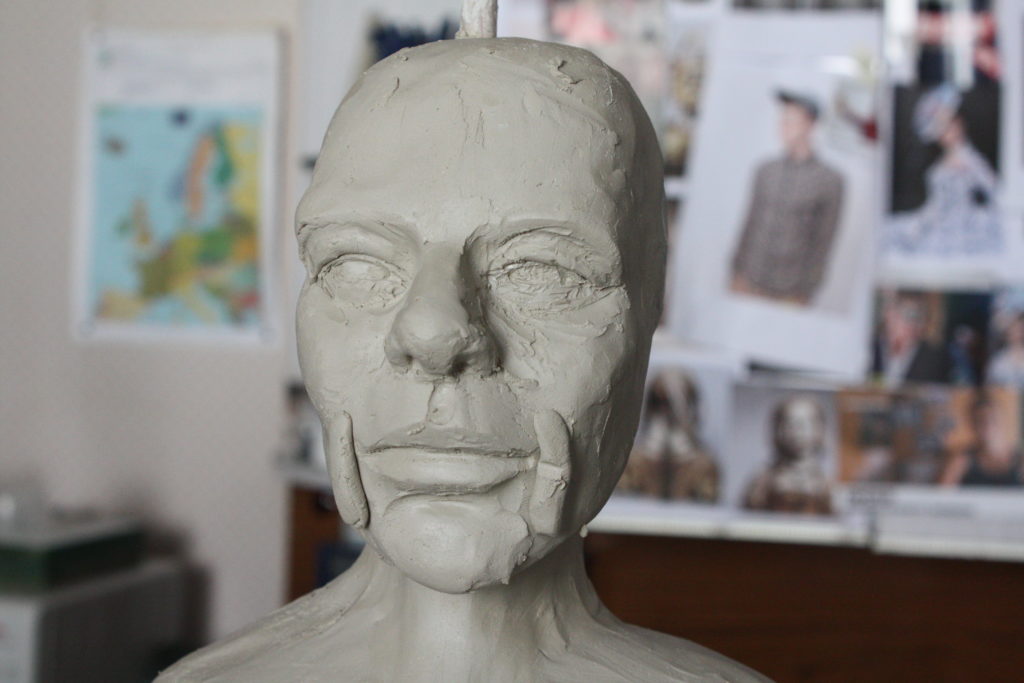
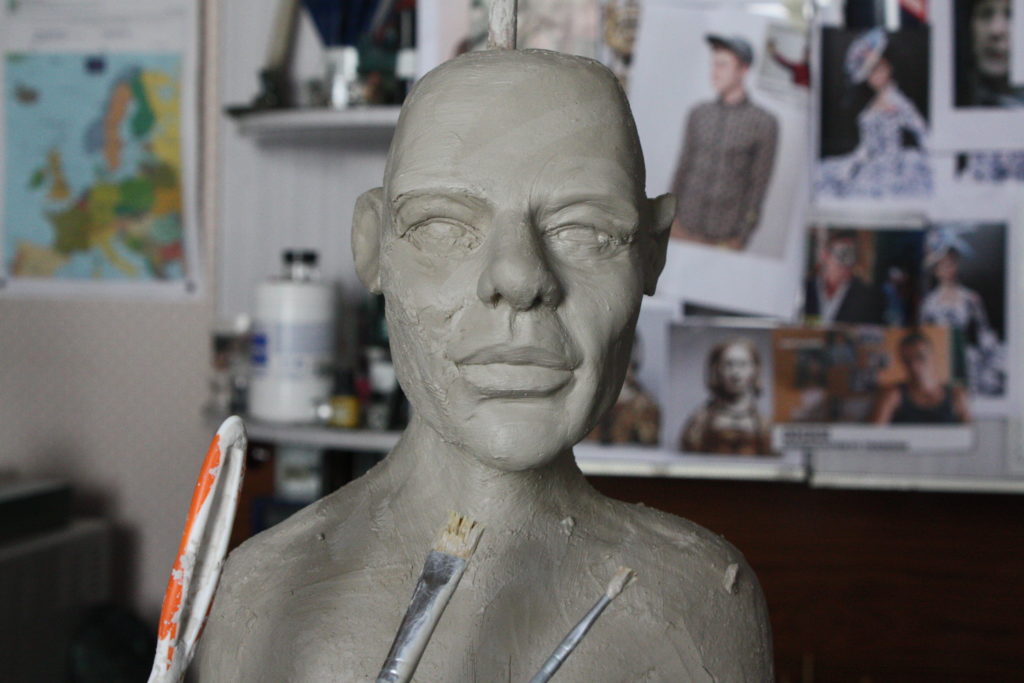
The eyes are next. For adult humans, they are just on or below the central line. So form hollows there and add slip. Form two balls of clay and place them in to the hollows an eye’s width apart. The features are initially formed from very basic shapes. Remember, at this stage we are establishing only the basic shapes – do not form any details now.
Form the nose from a triangle of clay. The mouth starts off as a shallow half-sphere, the cheek bones as tear drops, and the sides of the jaw as elongated triangles.
I form the shape of the eyelids with strips of clay as shown:
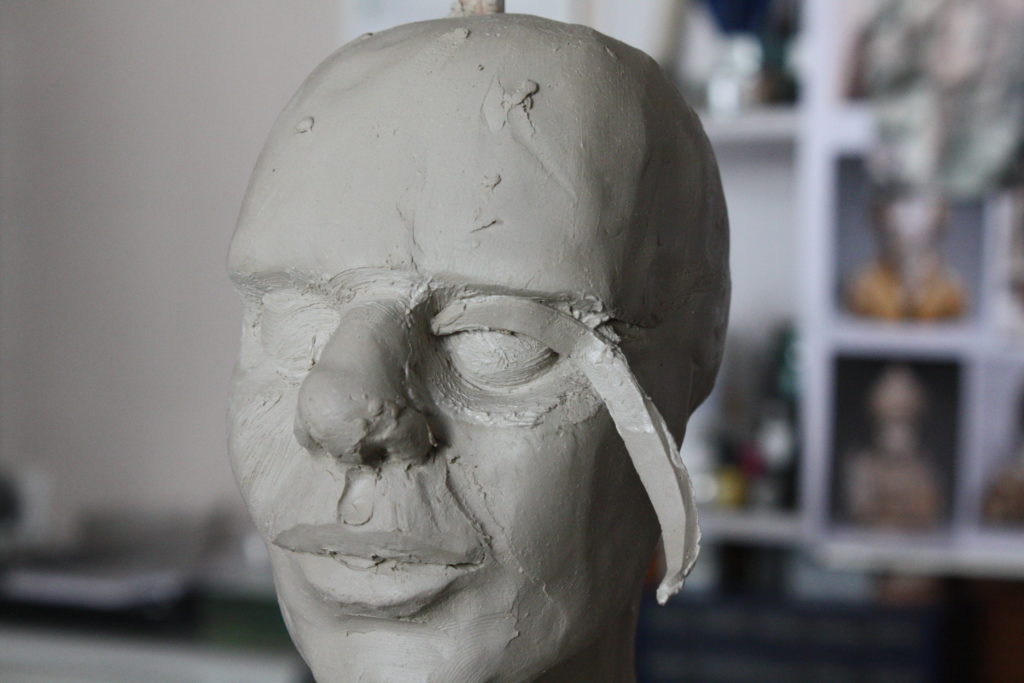
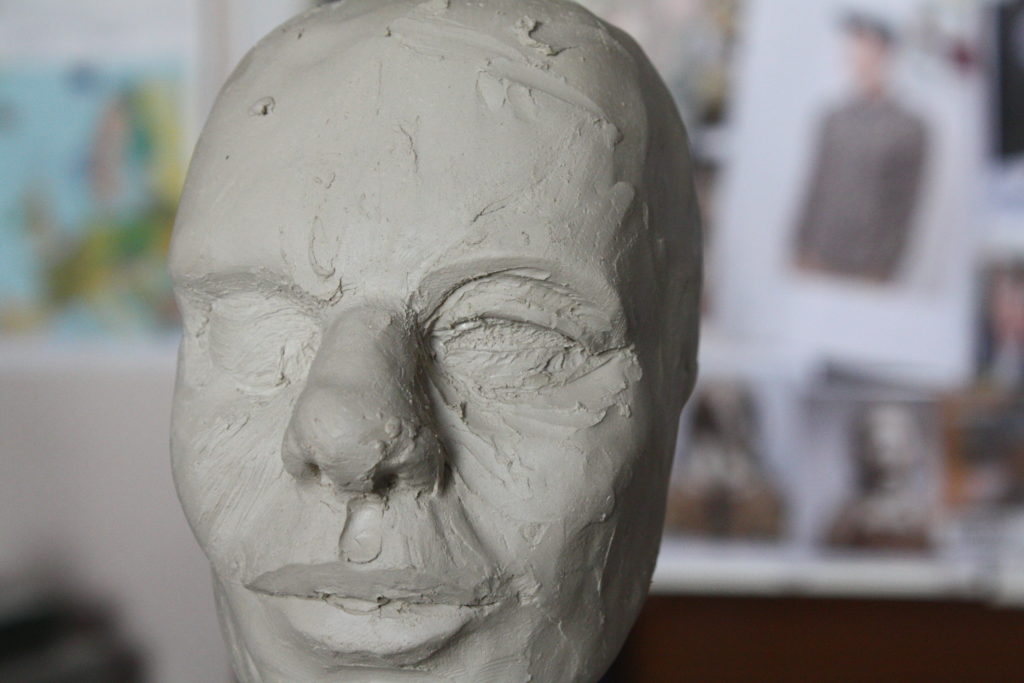
Blend the shapes together until you have a form you are happy with. Form the mouth by cutting a horizontal line and flatten the top lip to an angle and shape. The bottom lip protrudes less than the top and is usually fuller and rounder.
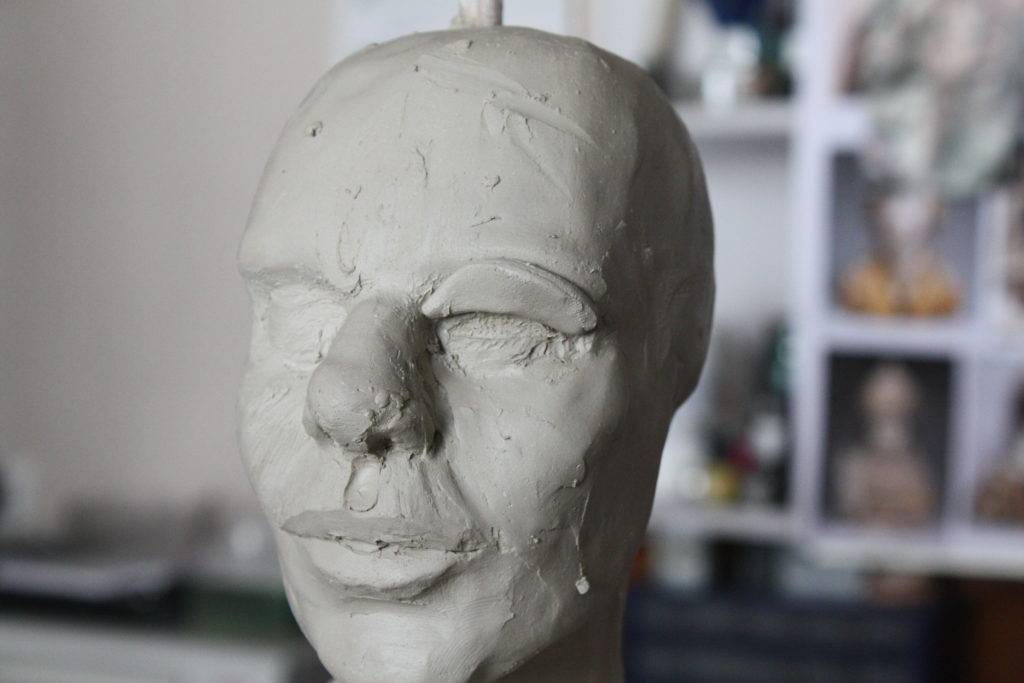
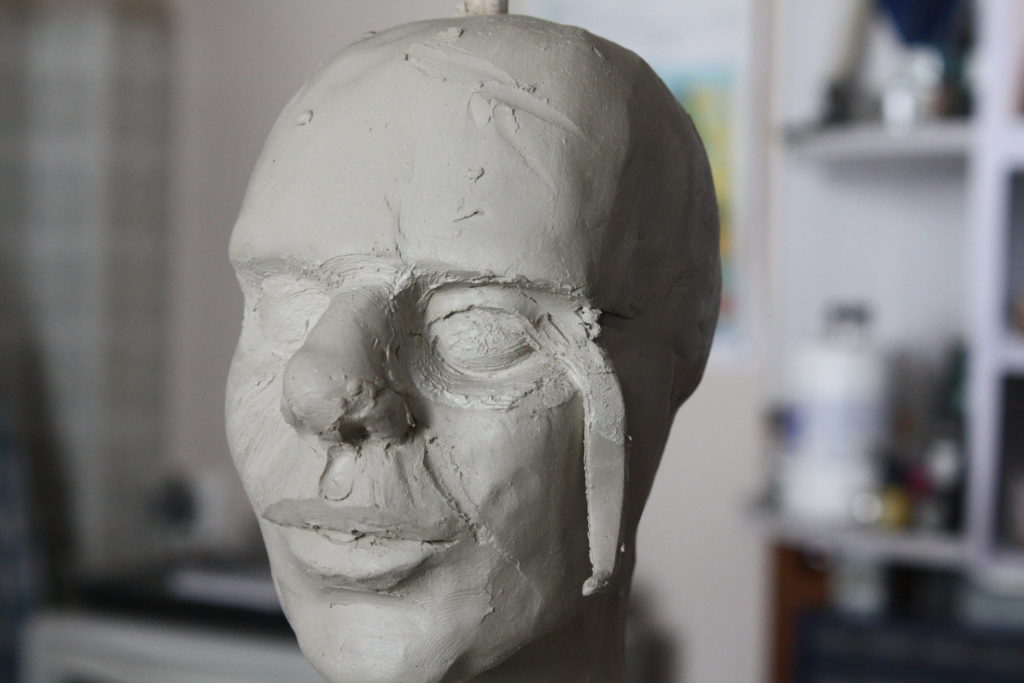
Build up the mass around the eyes and eyelids. A lot of the character of the piece will be determinedby this, so pay attention.
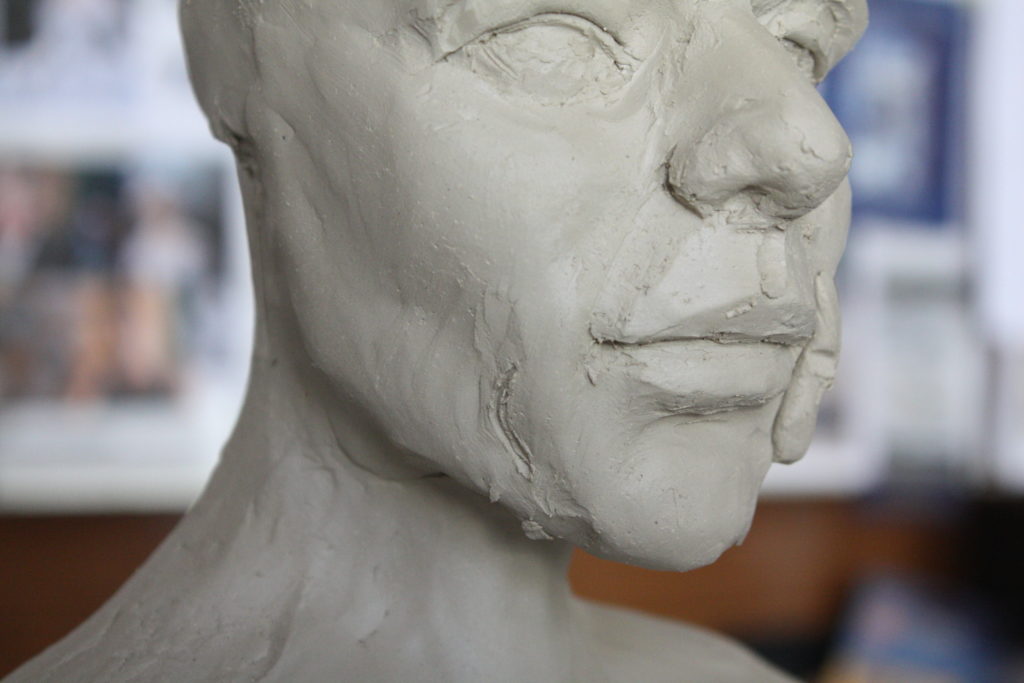
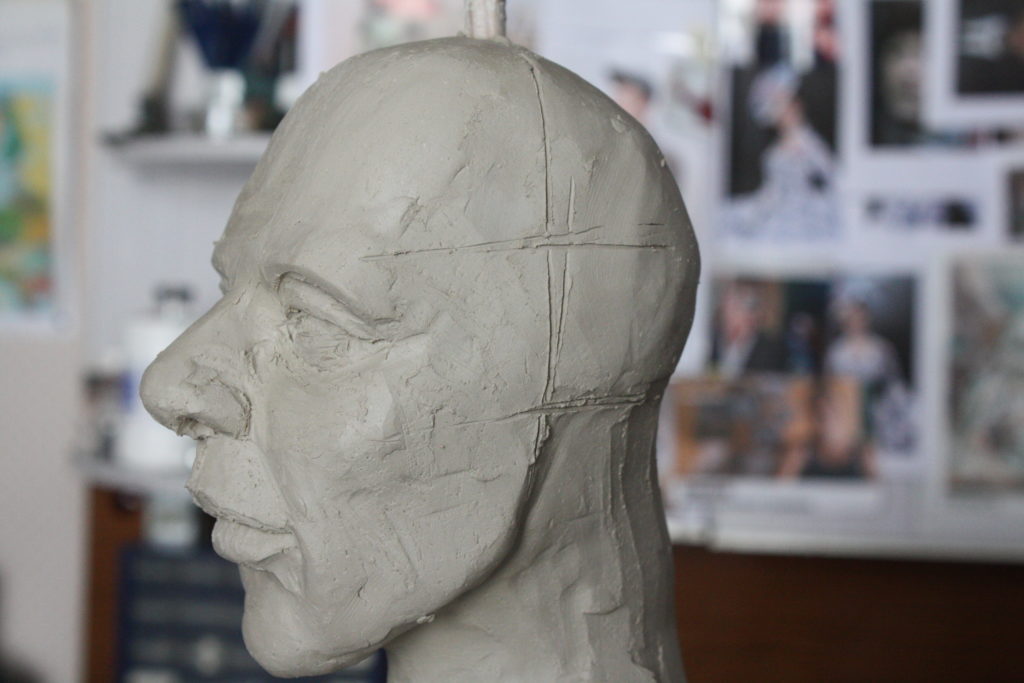
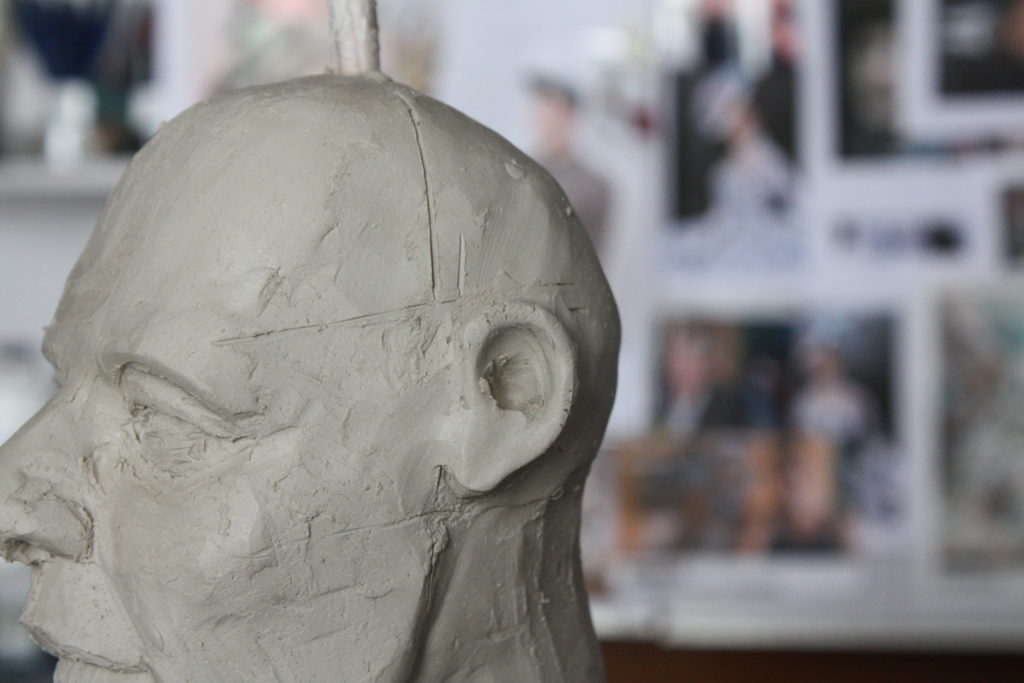
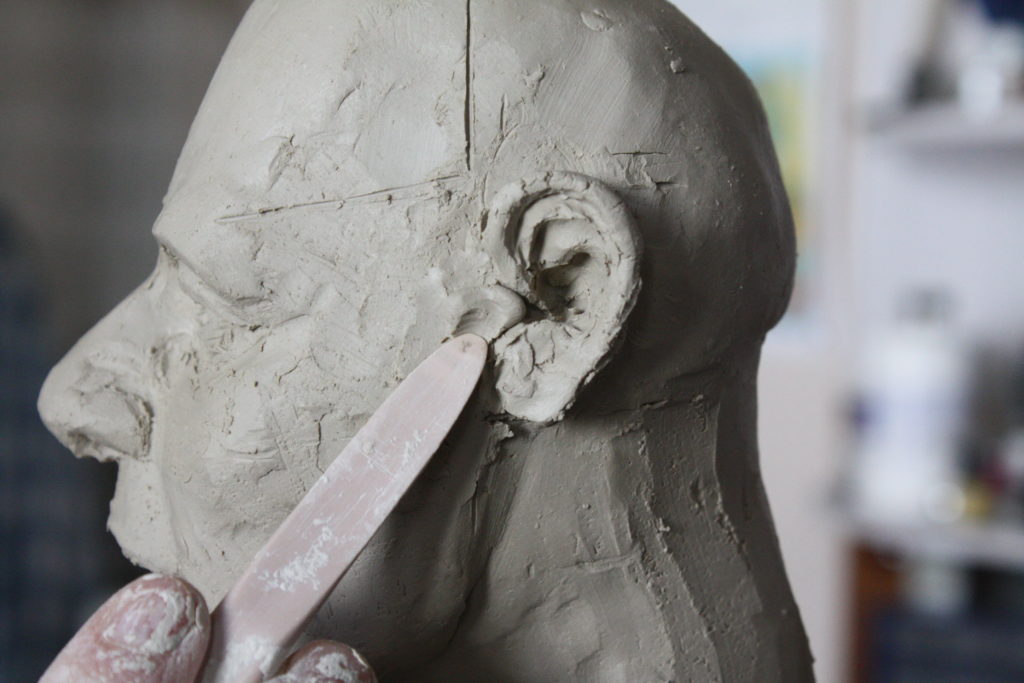
Place the ears by making back lines from the eyebrows and down to the level of the end of the nose as shown. (Note: I have misjudged the size of the back of the head and I will correct this when I add the hair.)
The ears are complicated but can be achieved by breaking down into basic shapes which can be methodically built step by step. Once you have done them a few times, you race through them.
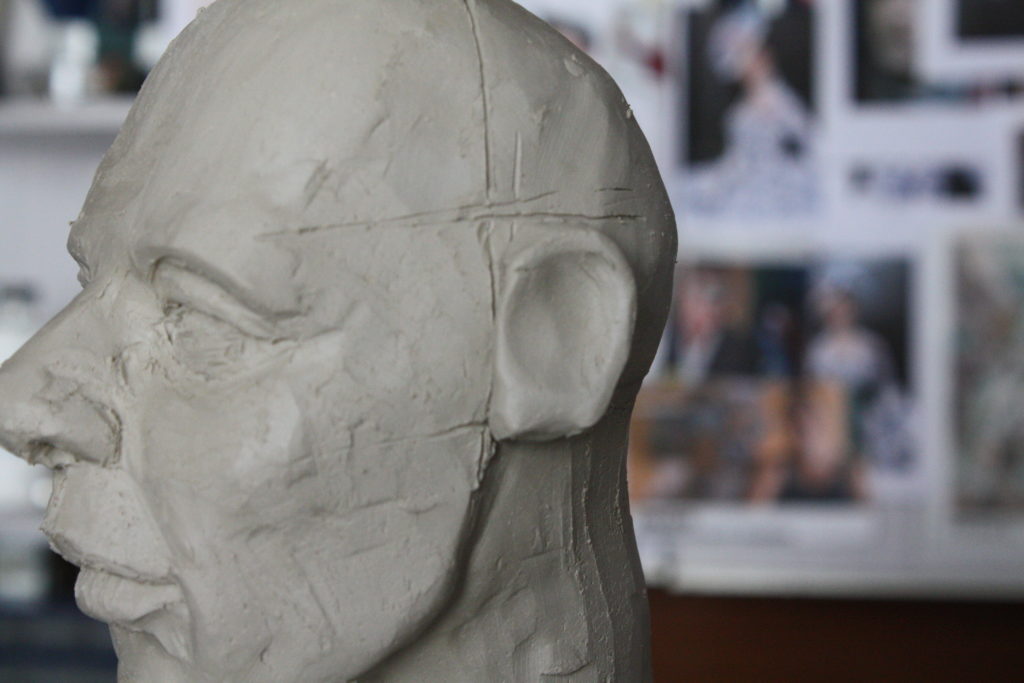
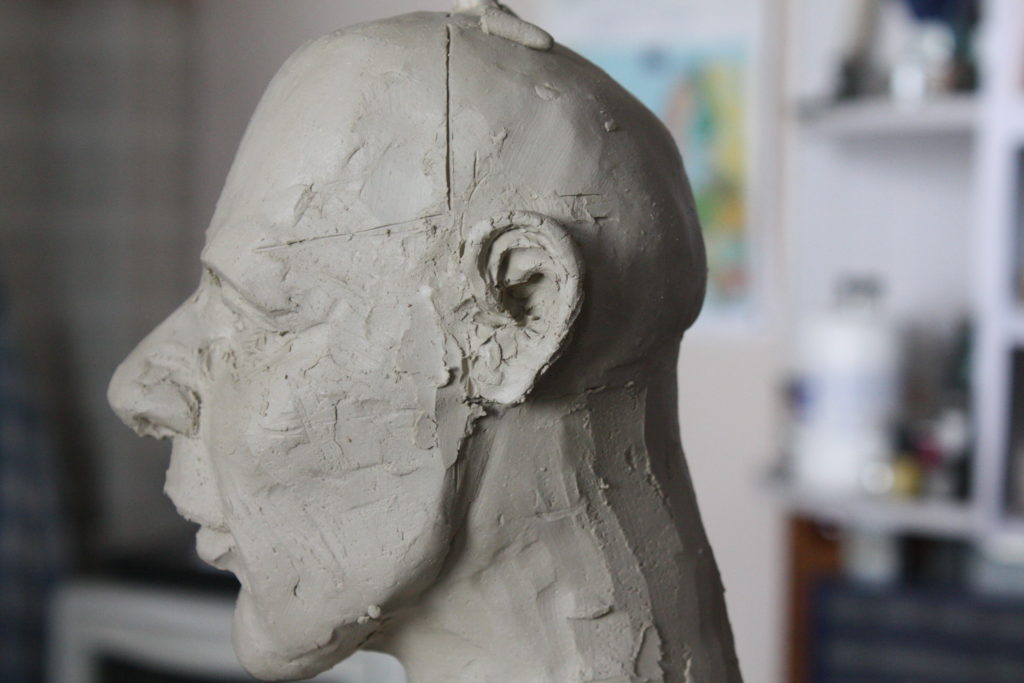
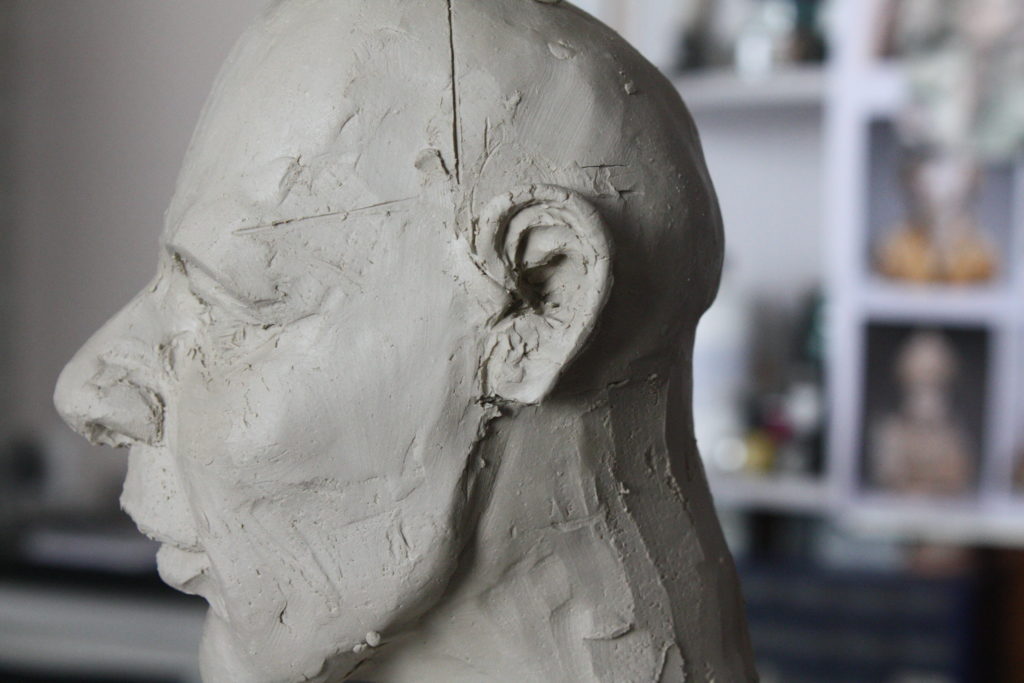
Now stand back and examine critically. Is everything in proportion, at the same level on both sides, etc.
Here you cab see that the ears are too high and, as already mentioned, the top and back of the head are too small. So I cut off the ears and readjusted them. I’ll do the rest when finishing the hair.
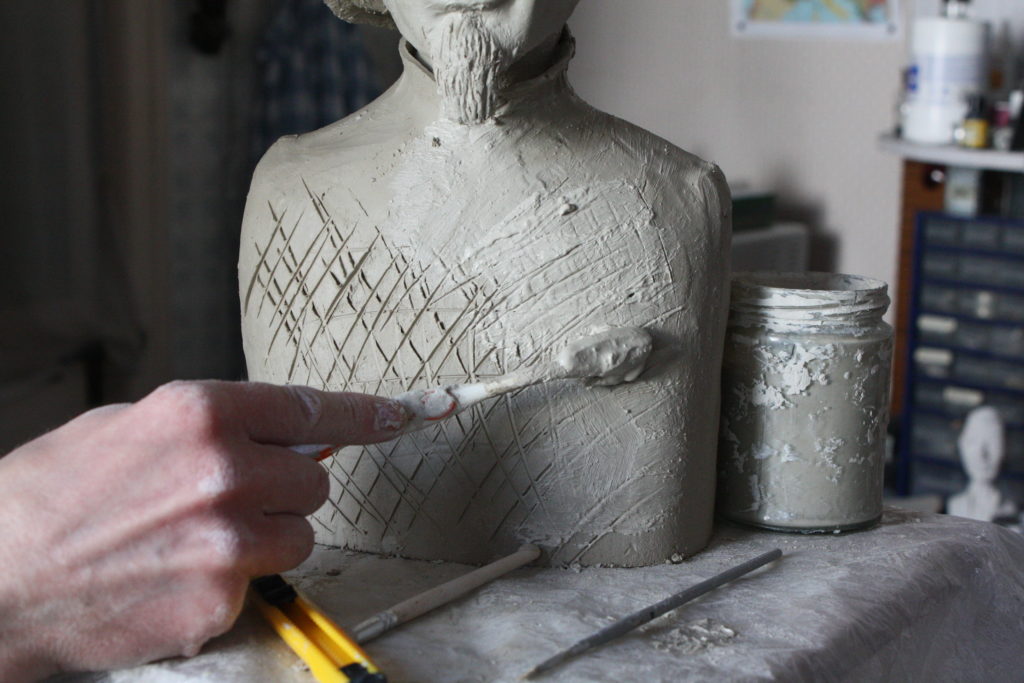
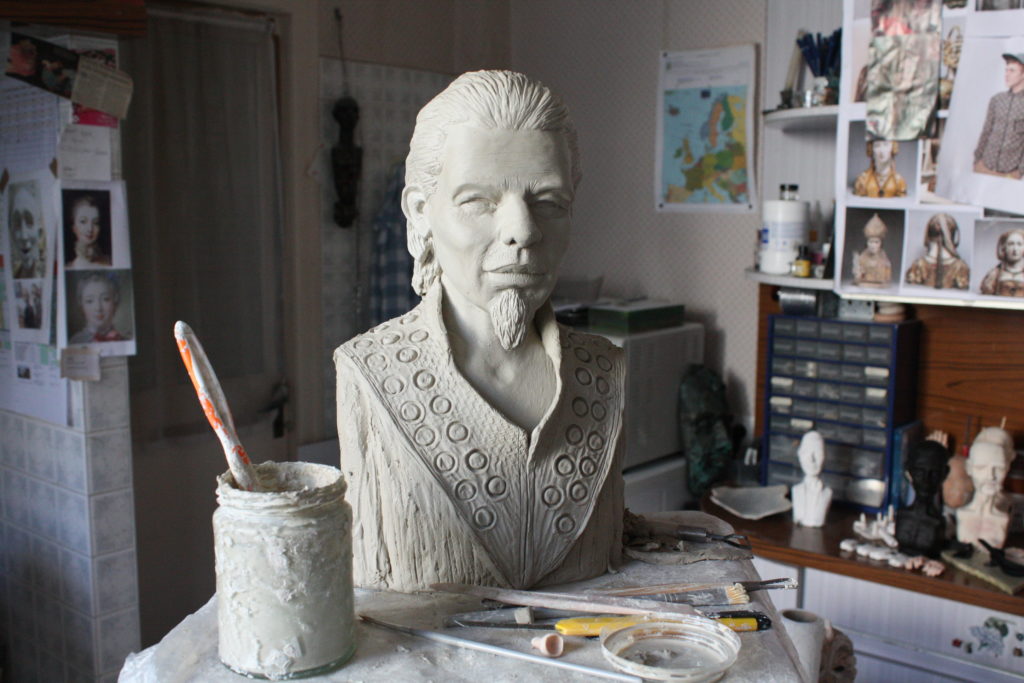
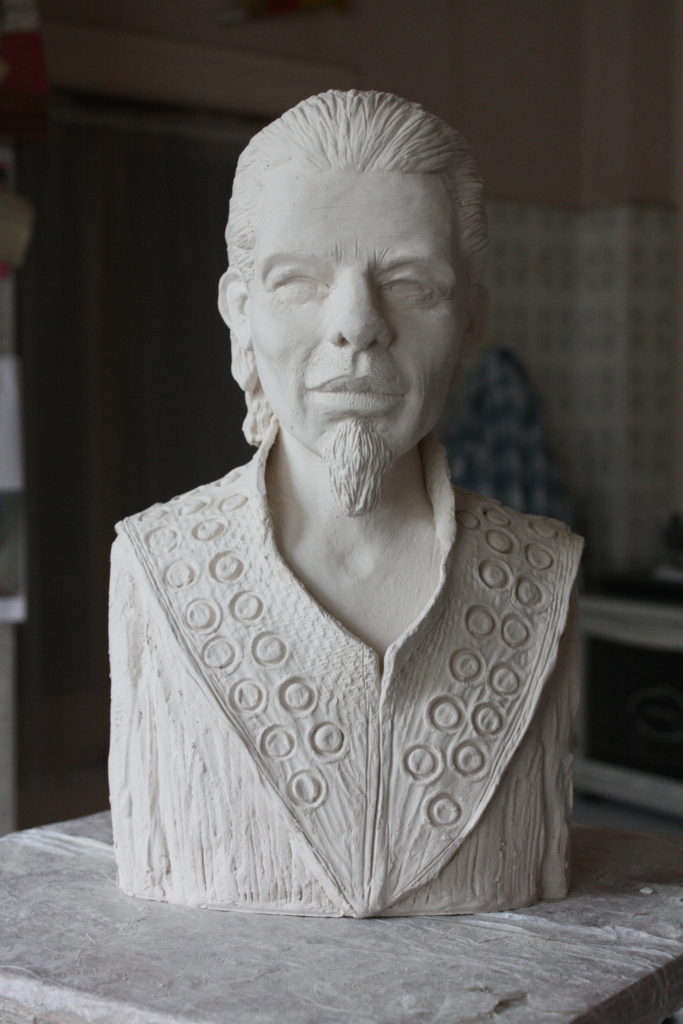
To make the tunic/tabard, I score and slip the front and back of the chest, and add a thin layer of clay cut to shape
Important!!! Score and slip well ensuring that you do not trap any air bubbles or gaps as these will crack or break in the firing.
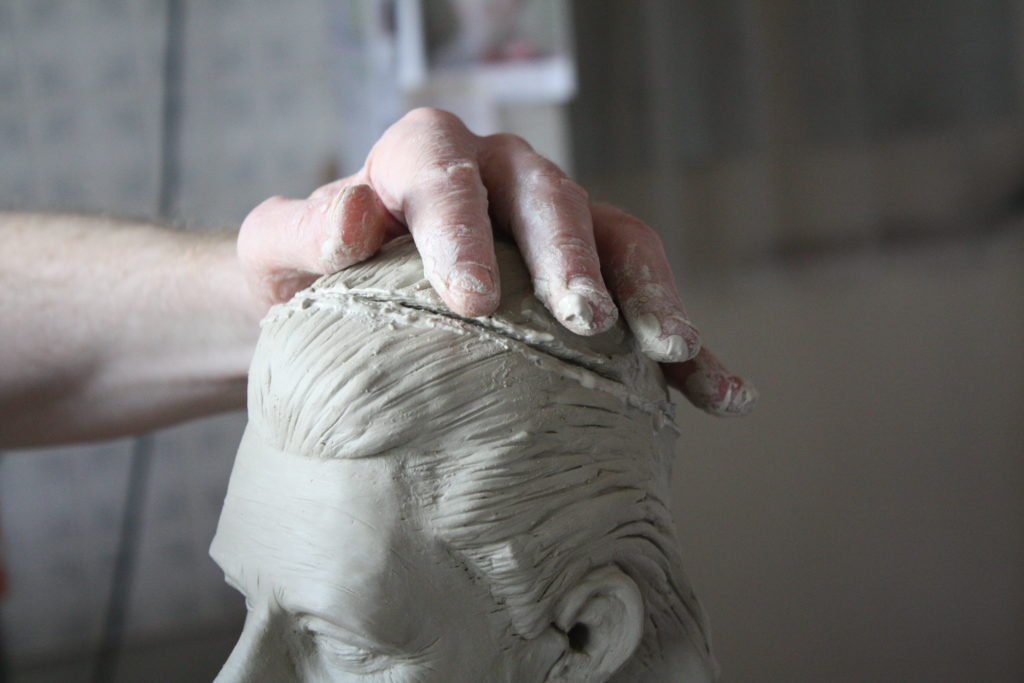
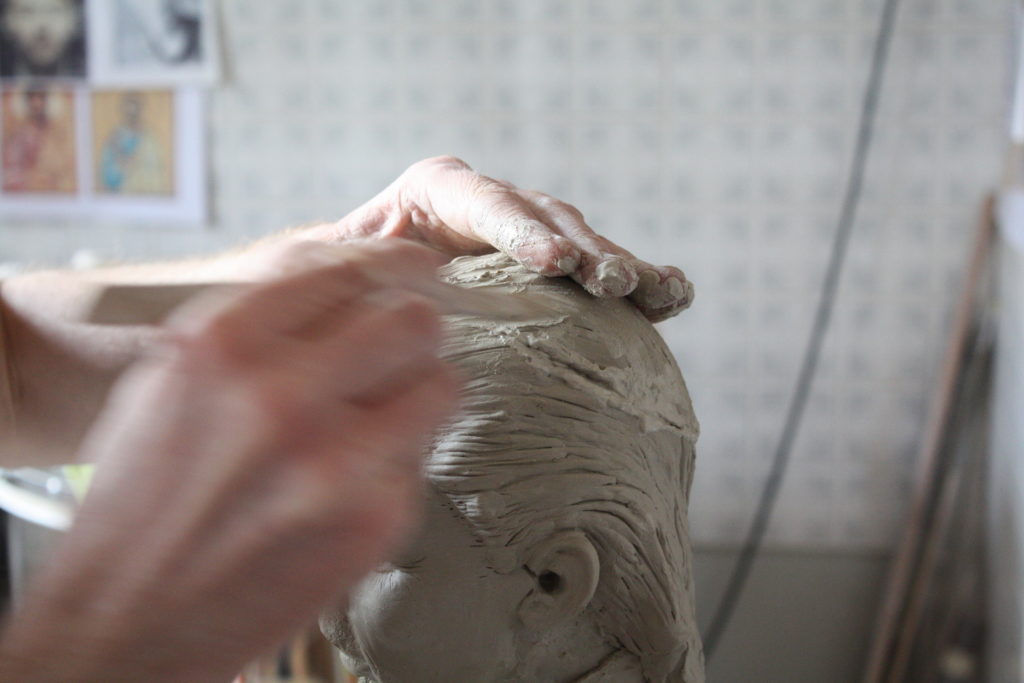
Add hair. Again, put on the basic mass, shape and then refine.
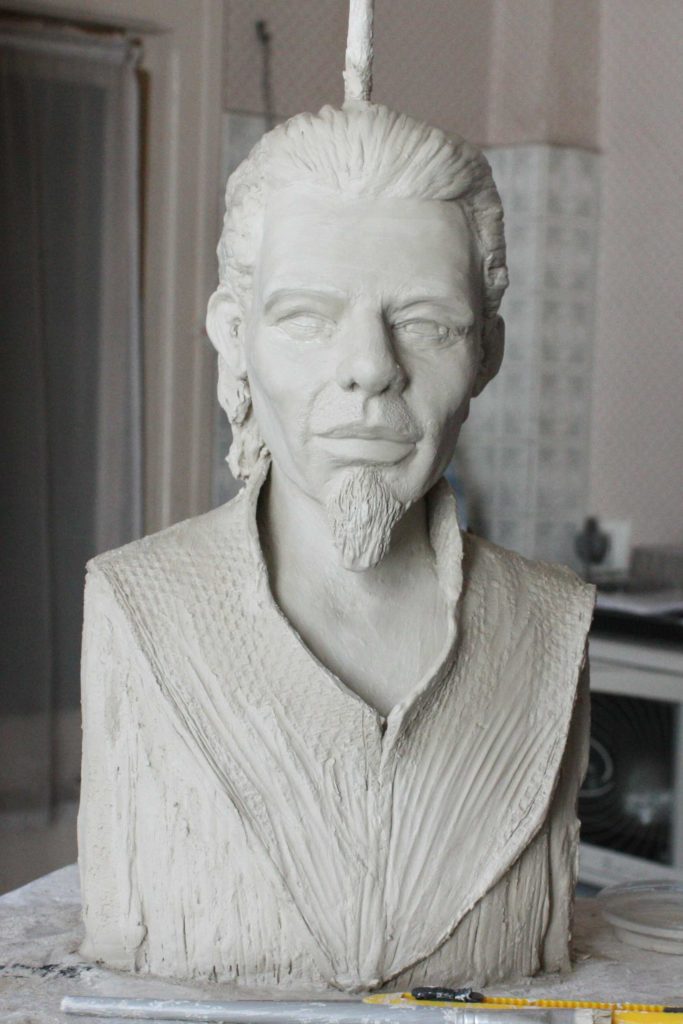
Use a moist brush to smooth out the features until you have the look you want. This is a sculpture – not a photograph. Make it as realistic, or not, as you choose.
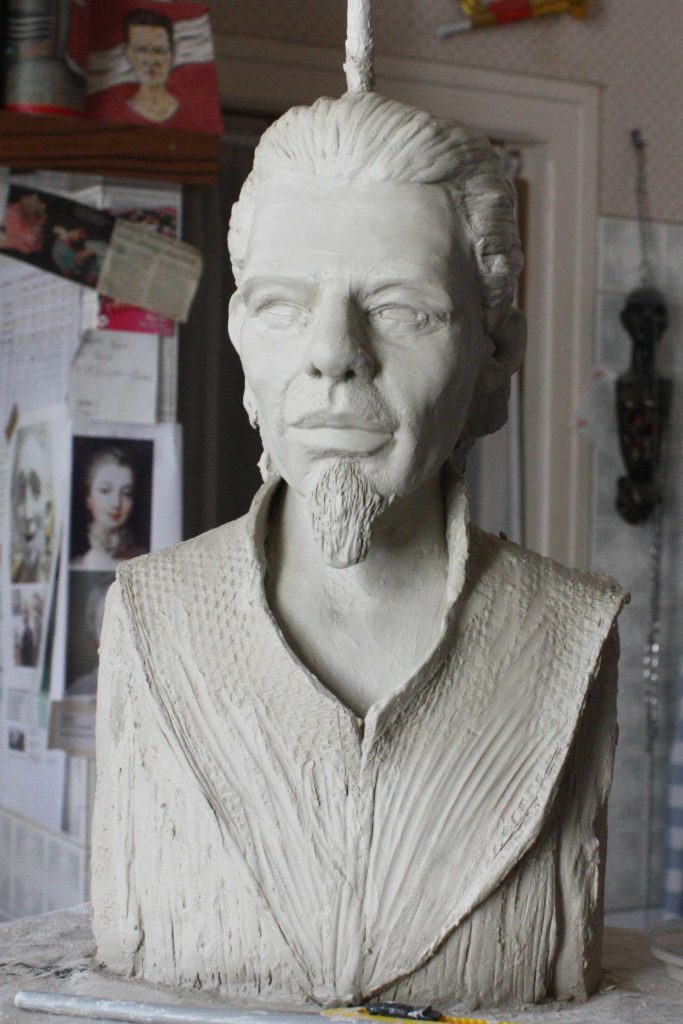
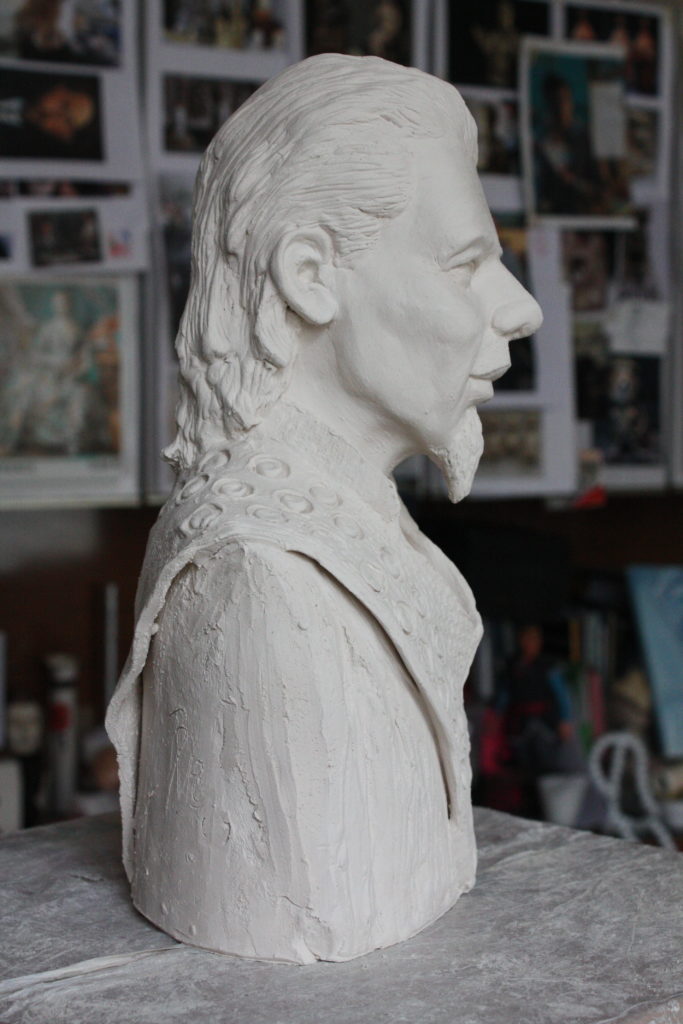
Leave the clay to dry for an hour or two and add any fine detail, fine lines around theeyes or forehead for instance. These finishing touches can make a big difference.
Leave to dry until leather hard. A head this size will usually takr several hours. Do not let it get too dry or it will be extremely hard going to hollow it out.
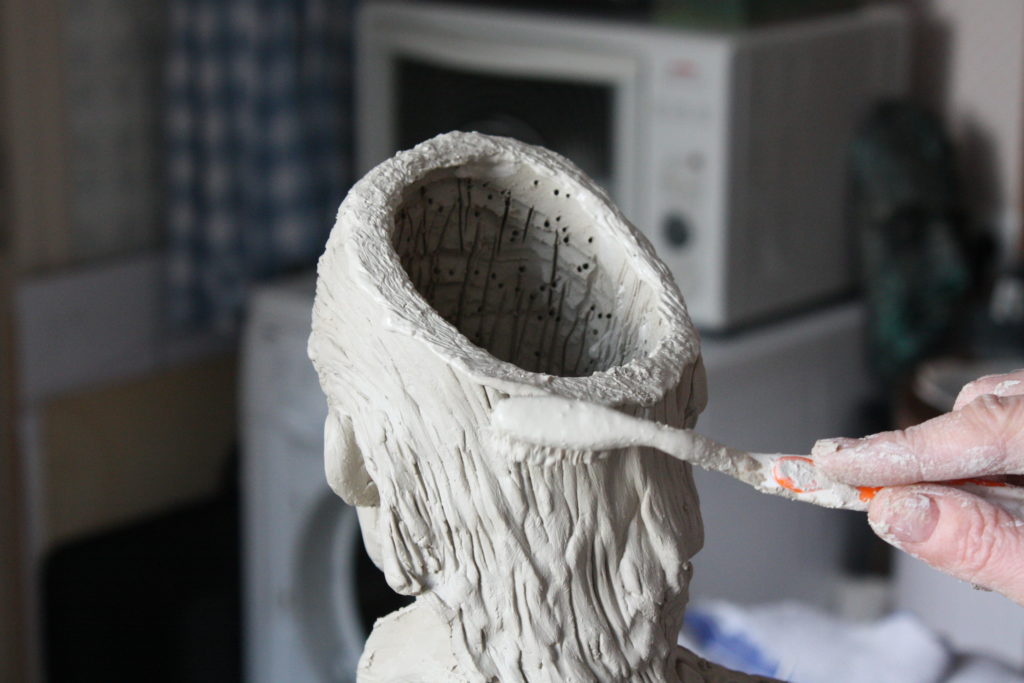
Remove the pole, cut off the top of the head and scoop out the clay using a loop tool. Try to keep an even thickness throughout. We are aiming for a head that is light enough to be supported by the neck and bodywhilst it is heated to 1000°C. At this stage, I usually reinforce the neck with some extra clay on the inside.

Score, slip and re-attach the top of the head
Make final adjustments and details
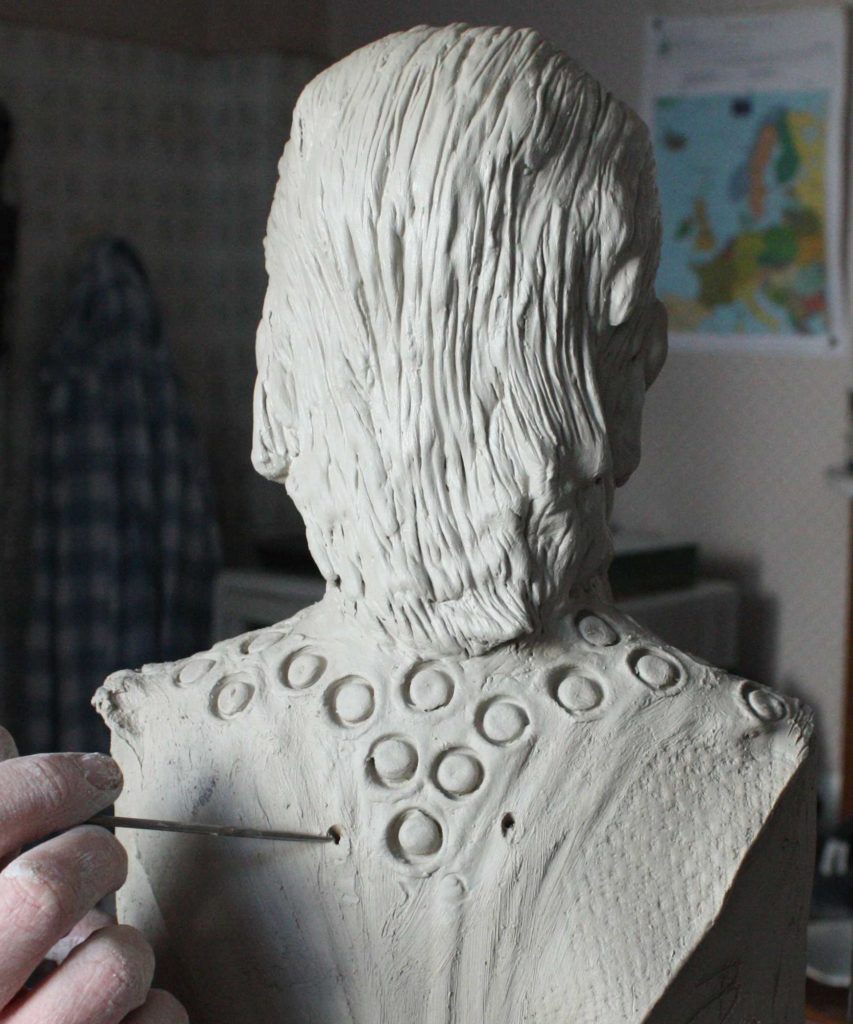
Make sure you have air holes for when you fire your piece. Trapped air expands when heated and will cause cracking or breaking, destroying your work, which is very annoying.
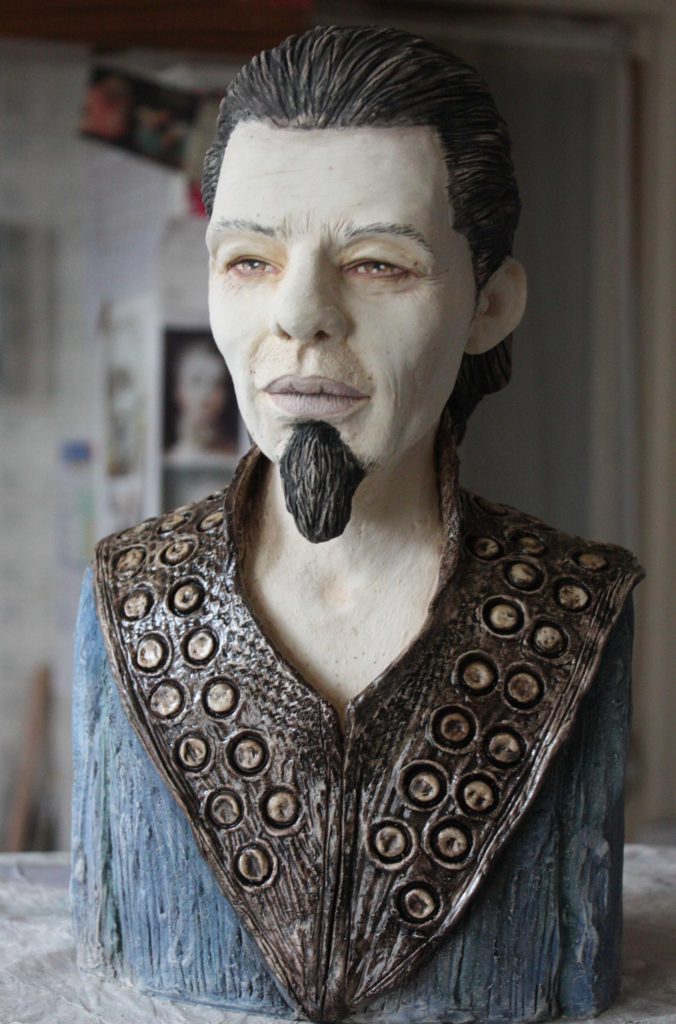
The piece after the first firing.
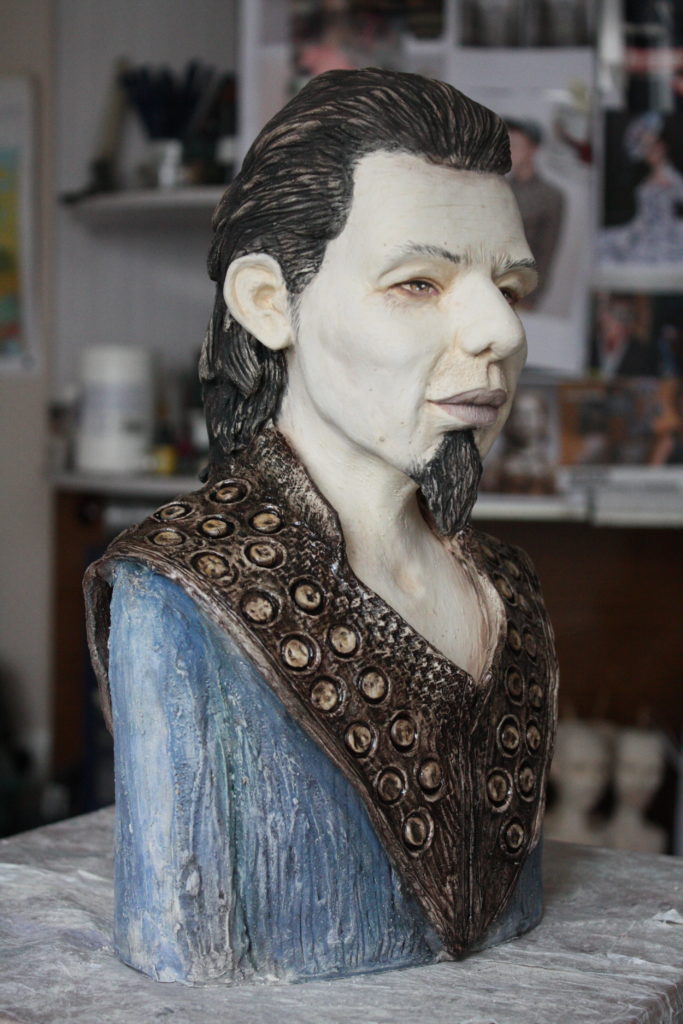
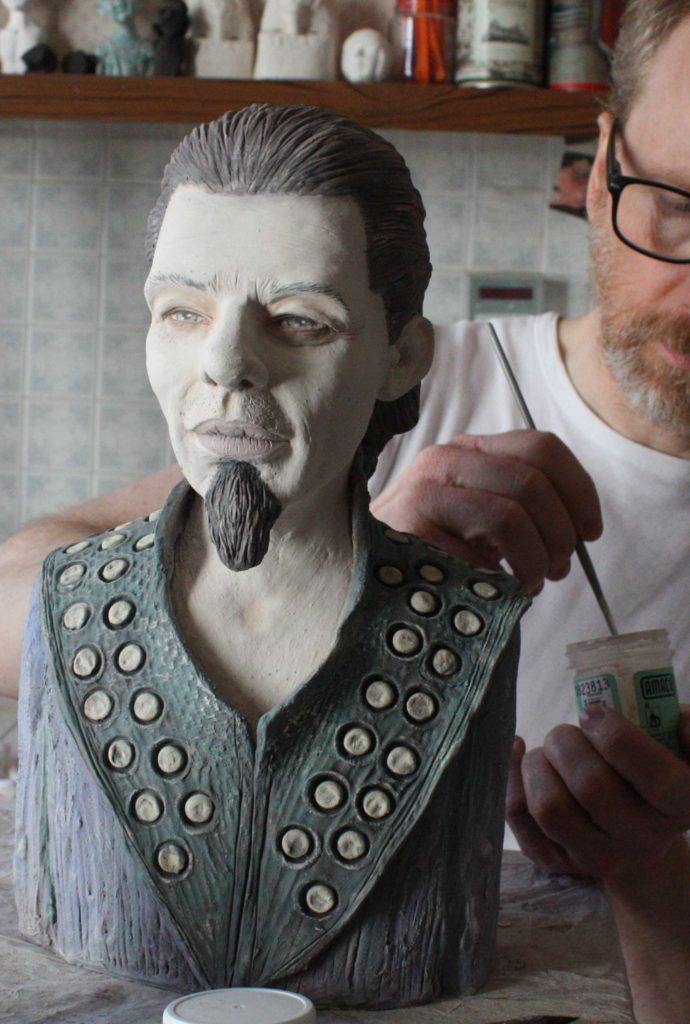
Painted with underglazes and ready for the second firing.
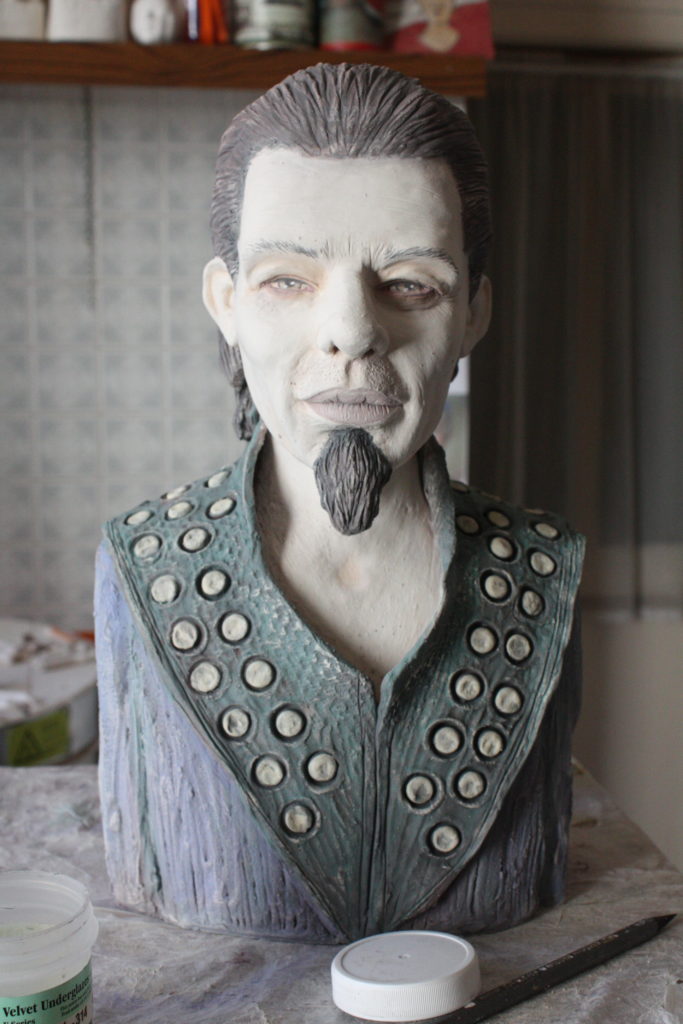
The Finished Piece
Before firing, I added a layer of matt overglaze to the tabard so as to give a “leathery” look to it. Normally the colours intensify during firing and the effect is more pronounced by the overglaze. However, in this case the colours have become a uniform drab grey-black under the glaze (the same thing happened on a blue piece that I fired at the same time). You can never be sure what will happen during a firing.
I’m not too pleased with this piece – there are a couple things I would have done differently – as well as the glaze – but I can always make another.